
If you’re considering a low-maintenance, year-round green lawn, synthetic turf installation is one of the most effective ways to transform your outdoor space. But unlike rolling out a carpet, installing artificial grass properly requires precision, preparation, and professional-grade materials—especially in the coastal Carolina region where humidity, sand, and rain demand a solid foundation.
Whether you’re updating your backyard, creating a pet run, or laying turf between pavers, understanding what goes into a successful installation will help you plan, budget, and ensure long-lasting results. This guide walks you through each phase of the process so you’ll know exactly what to expect.
Site Evaluation and Planning
Every project starts with a site evaluation. An experienced installer will assess the area for grading, soil composition, drainage needs, sun exposure, and existing landscaping. For coastal homeowners in Myrtle Beach, North Myrtle, Calabash, or Brunswick County, special attention is paid to drainage and salt exposure—two key environmental factors in turf performance.
-
Identify use type: Is the turf for pets, lounging, walking paths, or decorative use? The turf type, base materials, and infill options will differ depending on your goals.
-
Measure and layout: The crew will take precise measurements of the area and design the turf layout, minimizing seams and maximizing aesthetic flow.
-
Utilities check: Any underground irrigation, electrical lines, or plumbing must be located and accounted for before excavation begins.
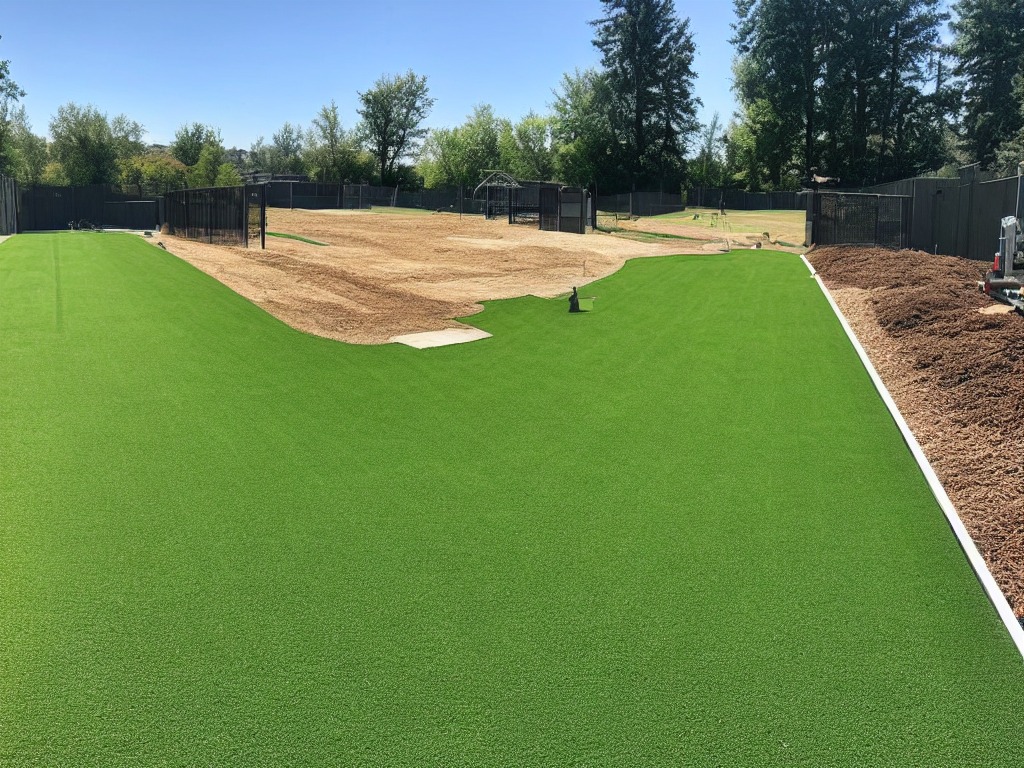
Excavation and Base Preparation
This is one of the most critical phases of synthetic turf installation. A stable, well-draining base is what prevents turf from shifting, puddling, or developing odors over time.
-
Excavation: The existing surface is excavated to a depth of 3–6 inches, depending on use. For pet areas or high-traffic zones, deeper excavation is typically recommended.
-
Weed barrier installation: A commercial-grade weed barrier fabric is laid to prevent unwanted plant growth beneath the turf.
-
Base material: A layer of crushed granite or limestone aggregate (also called “Class II road base”) is compacted to create a solid foundation. This base must be graded with a slight slope to allow for water drainage away from structures.
-
Compaction: The base is compacted using a vibratory plate compactor to at least 90% density. Any dips or uneven spots are leveled and re-compacted to ensure consistency.
A well-prepared base is the difference between a turf lawn that lasts five years and one that lasts 20.
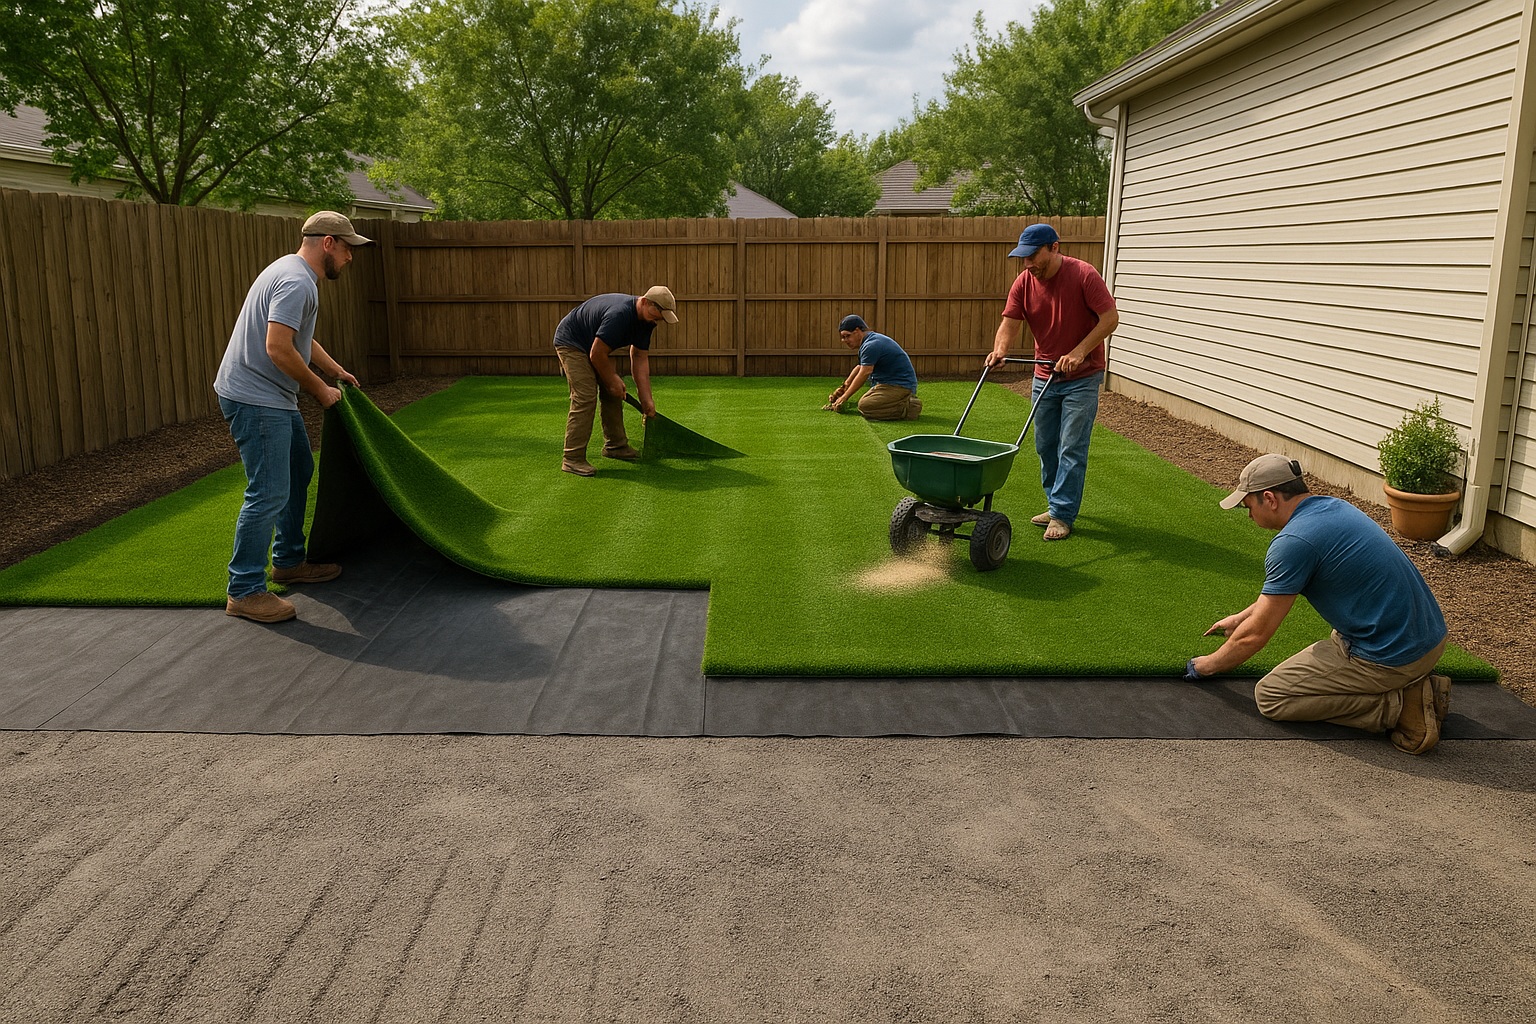
Turf Cutting, Laying, and Securing
Once the base is level and compacted, the turf is rolled out, cut, and positioned. This part is where skill and detail matter most.
-
Dry fitting: Installers will lay the turf out without securing it to ensure proper coverage, grain direction, and pattern alignment.
-
Seaming: If more than one piece is needed, the edges are trimmed and joined using seam tape and industrial adhesive to create a seamless look.
-
Trimming: Turf edges are precisely cut to fit around curves, pathways, walls, or trees.
-
Securing: The turf is anchored using 6-inch non-galvanized nails or staples, spaced 4–6 inches apart around the perimeter and across the field.
If you’re installing turf between pavers or stepping stones, each section is trimmed and tucked carefully between the joints for a clean, manicured look.
Infill Application and Final Grooming
Infill is the finishing layer that gives synthetic turf its feel, weight, and function. It helps keep the turf blades upright, adds ballast to prevent shifting, and supports drainage.
-
Infill types: Options include silica sand, antimicrobial pet infill, rubber granules, or organic materials. For coastal homes or pet zones, antimicrobial infills are highly recommended.
-
Application: Infill is applied evenly across the turf surface and brushed in using a power broom or stiff bristle rake.
-
Final grooming: The turf is fluffed, leveled, and brushed to restore its upright appearance and remove installation footprints.
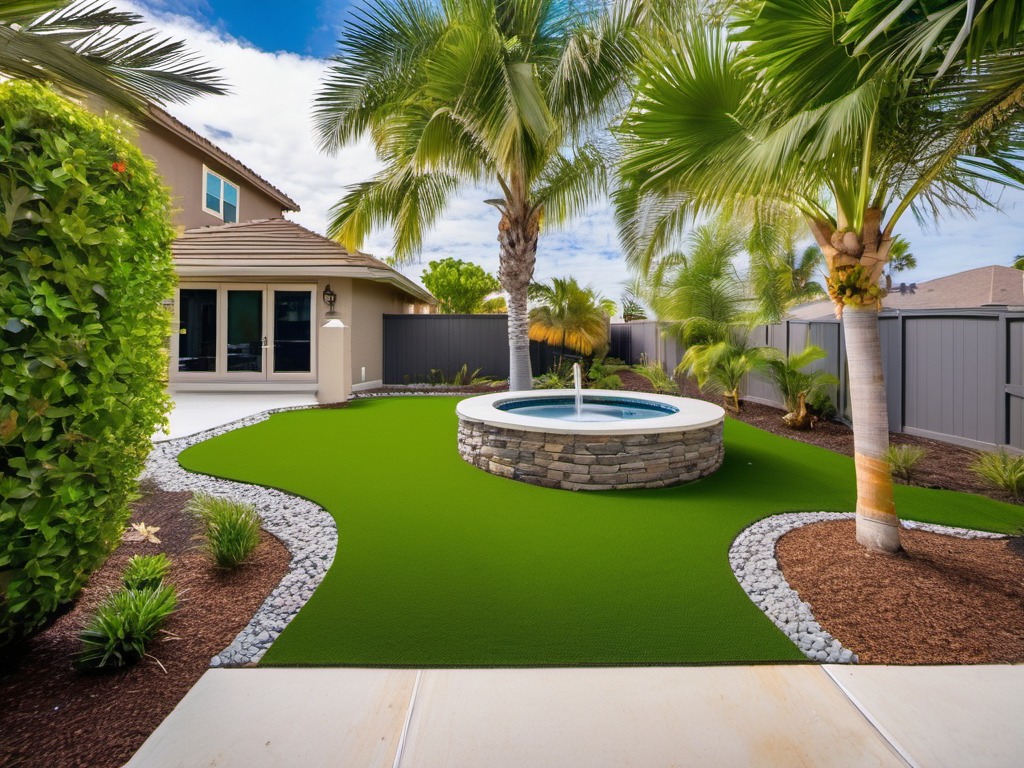
After a quick rinse and inspection, your new turf is ready to enjoy—green, clean, and virtually maintenance-free.
Aftercare and What to Expect Post-Installation
One of the greatest benefits of artificial grass is the minimal upkeep it requires. However, a little routine maintenance goes a long way in preserving its look and performance.
-
Weekly/Monthly: Remove debris like leaves and twigs. Rinse high-use areas to remove dust or pet waste.
-
Seasonally: Brush up the fibers with a stiff broom to prevent matting and redistribute infill.
-
Annually: Inspect seams and edging. Refill infill if levels drop or feel uneven.
You may notice the turf appears slightly flat immediately after installation. This is normal. Over the next few weeks, as the blades relax and the infill settles, the surface will look and feel more natural.
A Professional Process for a Long-Term Solution
Installing synthetic turf isn’t a DIY weekend project—it’s a precise, technical process that determines how well your lawn will perform over time. With proper base preparation, expert seaming, and the right materials, your turf can offer decades of lush, green beauty with minimal maintenance.
When done professionally, synthetic turf offers a resilient, attractive solution for coastal homeowners battling weeds, erosion, uneven ground, or excessive lawn care demands.
Let Precision Hardscape & Construction Handle Your Turf Installation
At Precision Hardscape & Construction, we provide expert synthetic turf installation services customized for your home, your goals, and the coastal Carolina environment. From dog-friendly play zones to elegant paver/turf combinations, we use the best materials and techniques to ensure results that last.
📞 Call us today at (843) 222-5377
🌐 Visit: www.precisionhardscapeconstruction.com to schedule your turf consultation and transform your yard into a no-hassle oasis.