
A Complete Outdoor Transformation in Coastal Carolina
Every great backyard starts with a vision — and a willingness to tear out what isn’t working. That’s exactly the mindset Matt Jones brought to this recent project in the Myrtle Beach area. What started as a dated concrete slab surrounded by overgrown landscaping is becoming a full outdoor living space: a custom paver patio, a curved seat wall, a pergola, and a fire pit.
Matt documented the build from day one, walking through each phase on video so homeowners could follow along. This article captures that journey — what was torn out, what’s going up, and why the decisions made along the way matter for the long-term quality of the finished space.
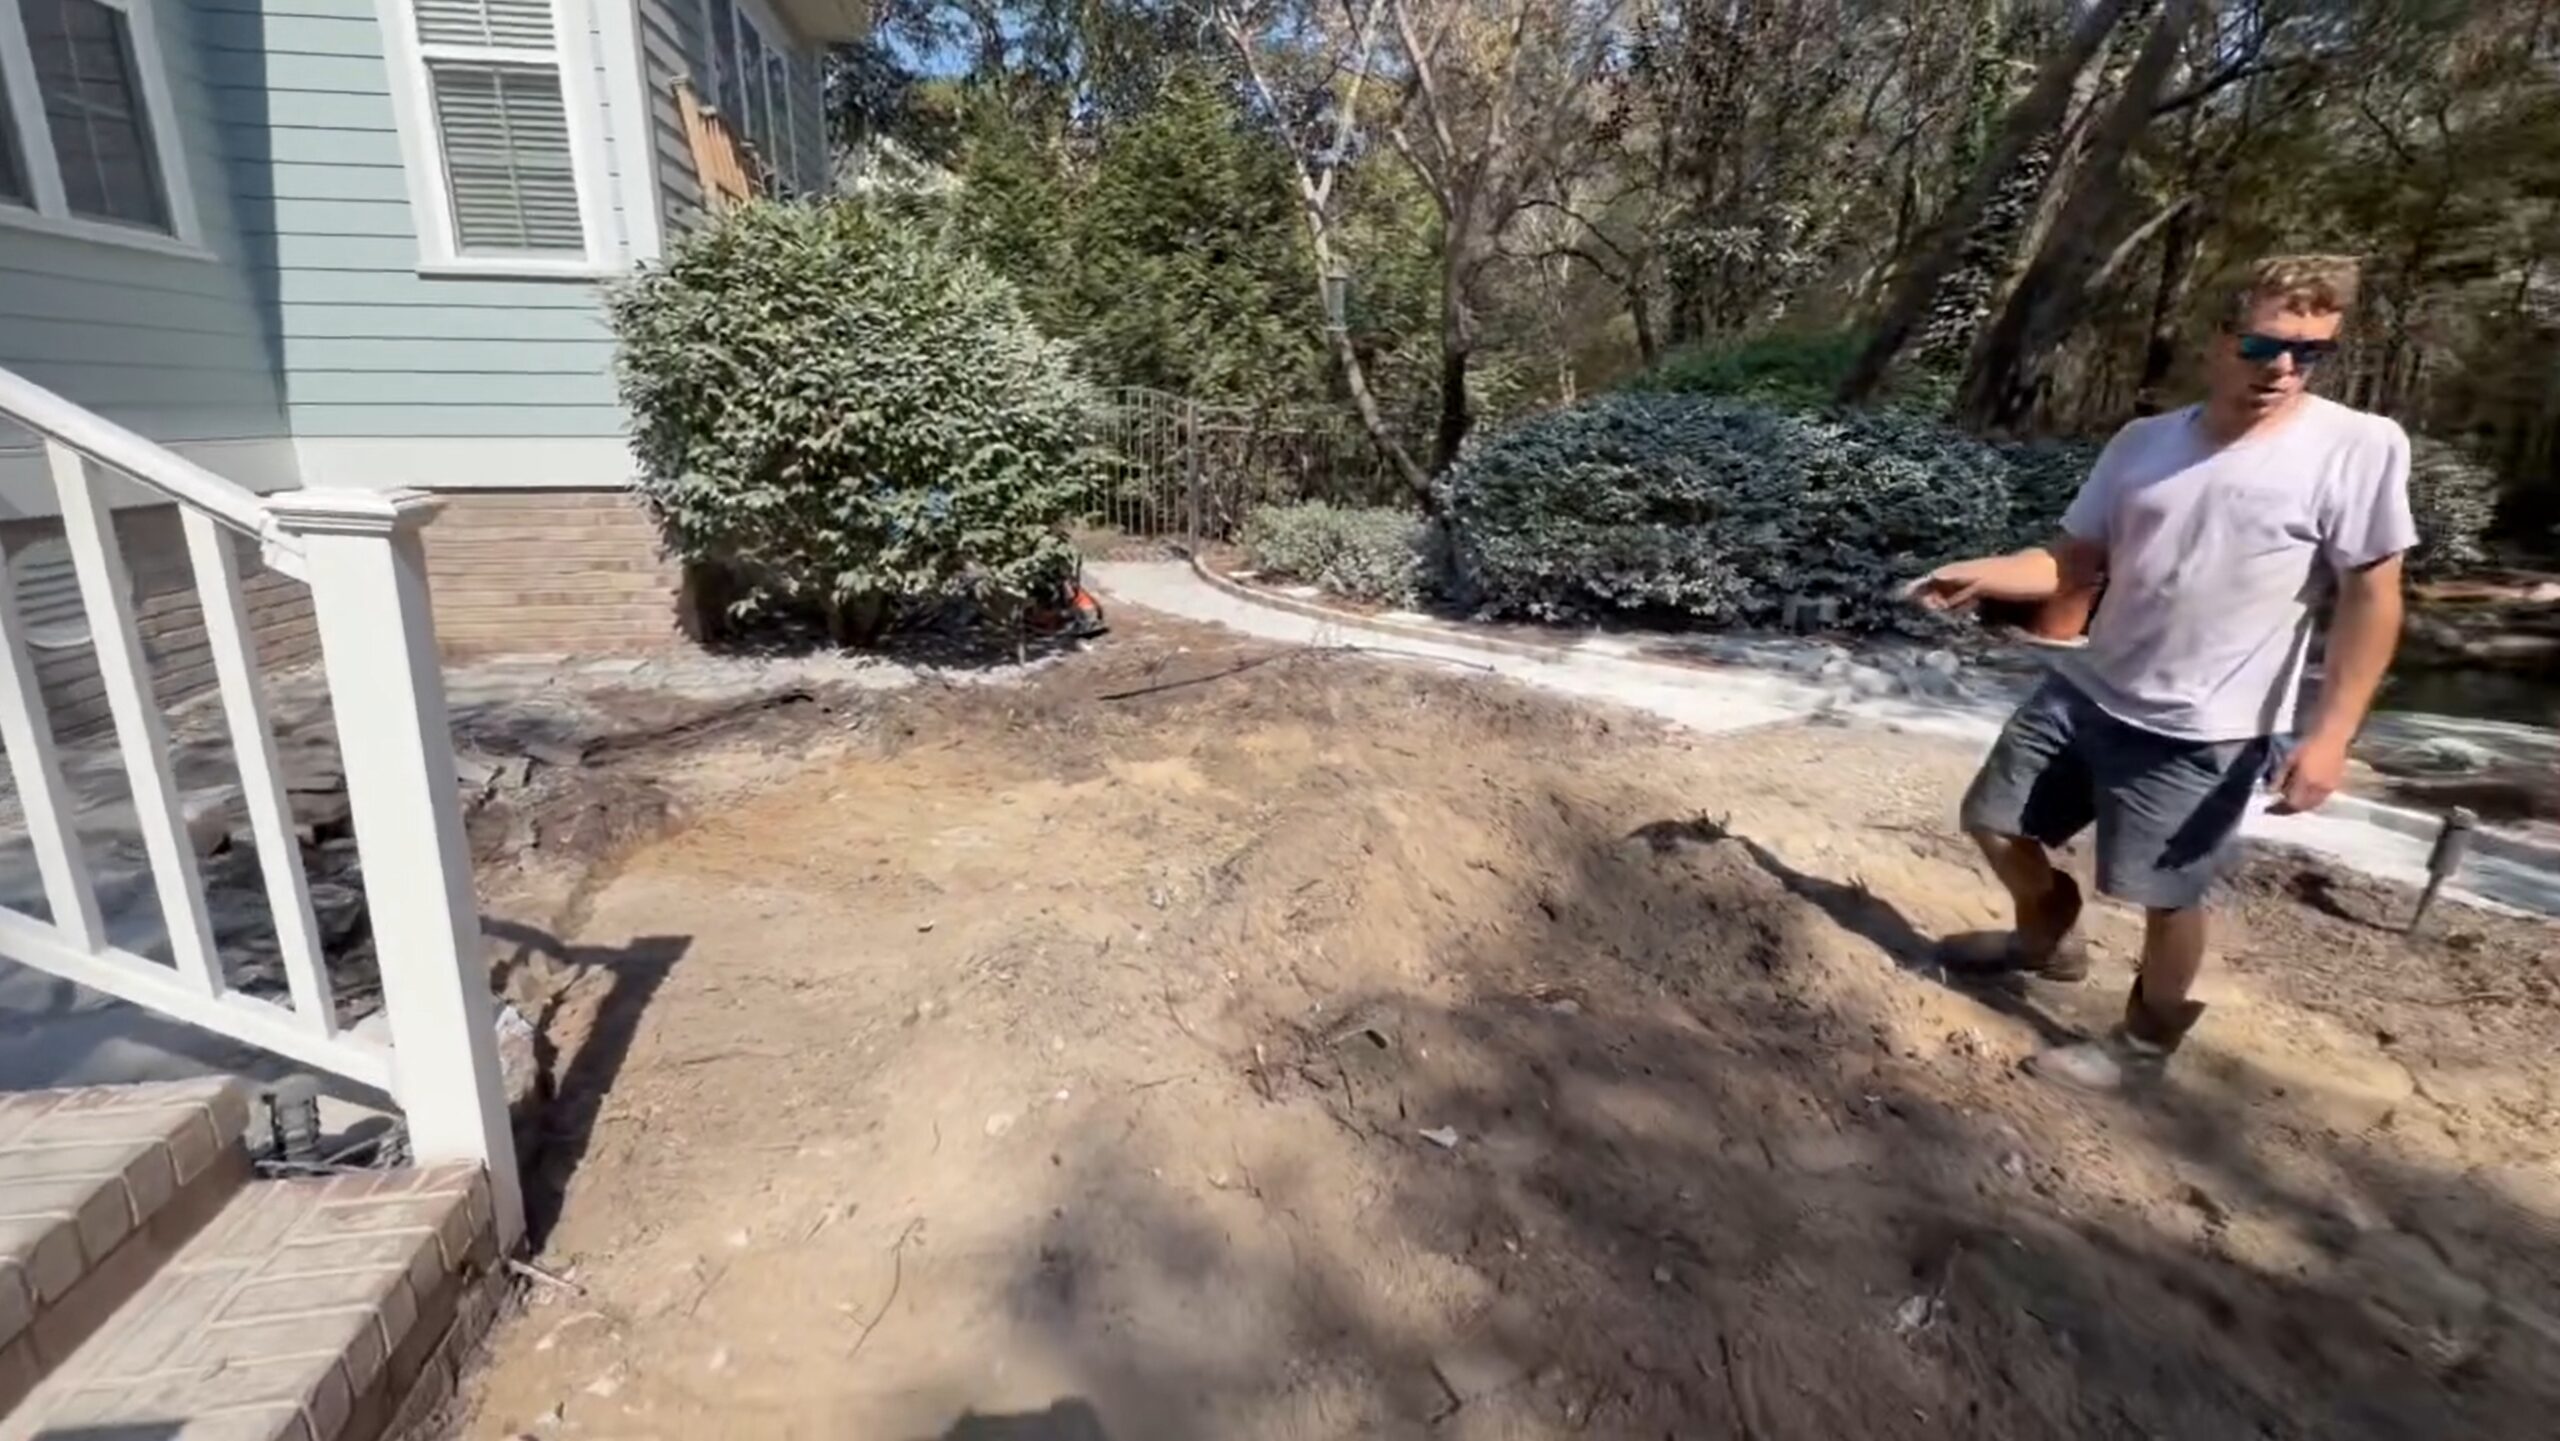
Demo Day: Clearing the Way
The first thing Matt shows in his opening walkthrough is what they pulled out: an old concrete slab, a low retaining wall, and years of built-up material that had turned the backyard into a problem yard rather than a usable space.
“Got our demo done. Got the wall tore out. All the concrete is in the trailer.”
That’s how transformations start — not with the glamorous finished product, but with a crew showing up early and making room for something better. In coastal Carolina yards, old concrete slabs are a common problem. They settle unevenly over time, crack under the combination of sandy soil and heavy rainfall, and don’t give homeowners the aesthetic or functional space they actually want.
Removing it completely — rather than building over it — is the right call. It allows the crew to properly prepare the base, address any drainage concerns, and ensure the new patio sits exactly where the design calls for it.
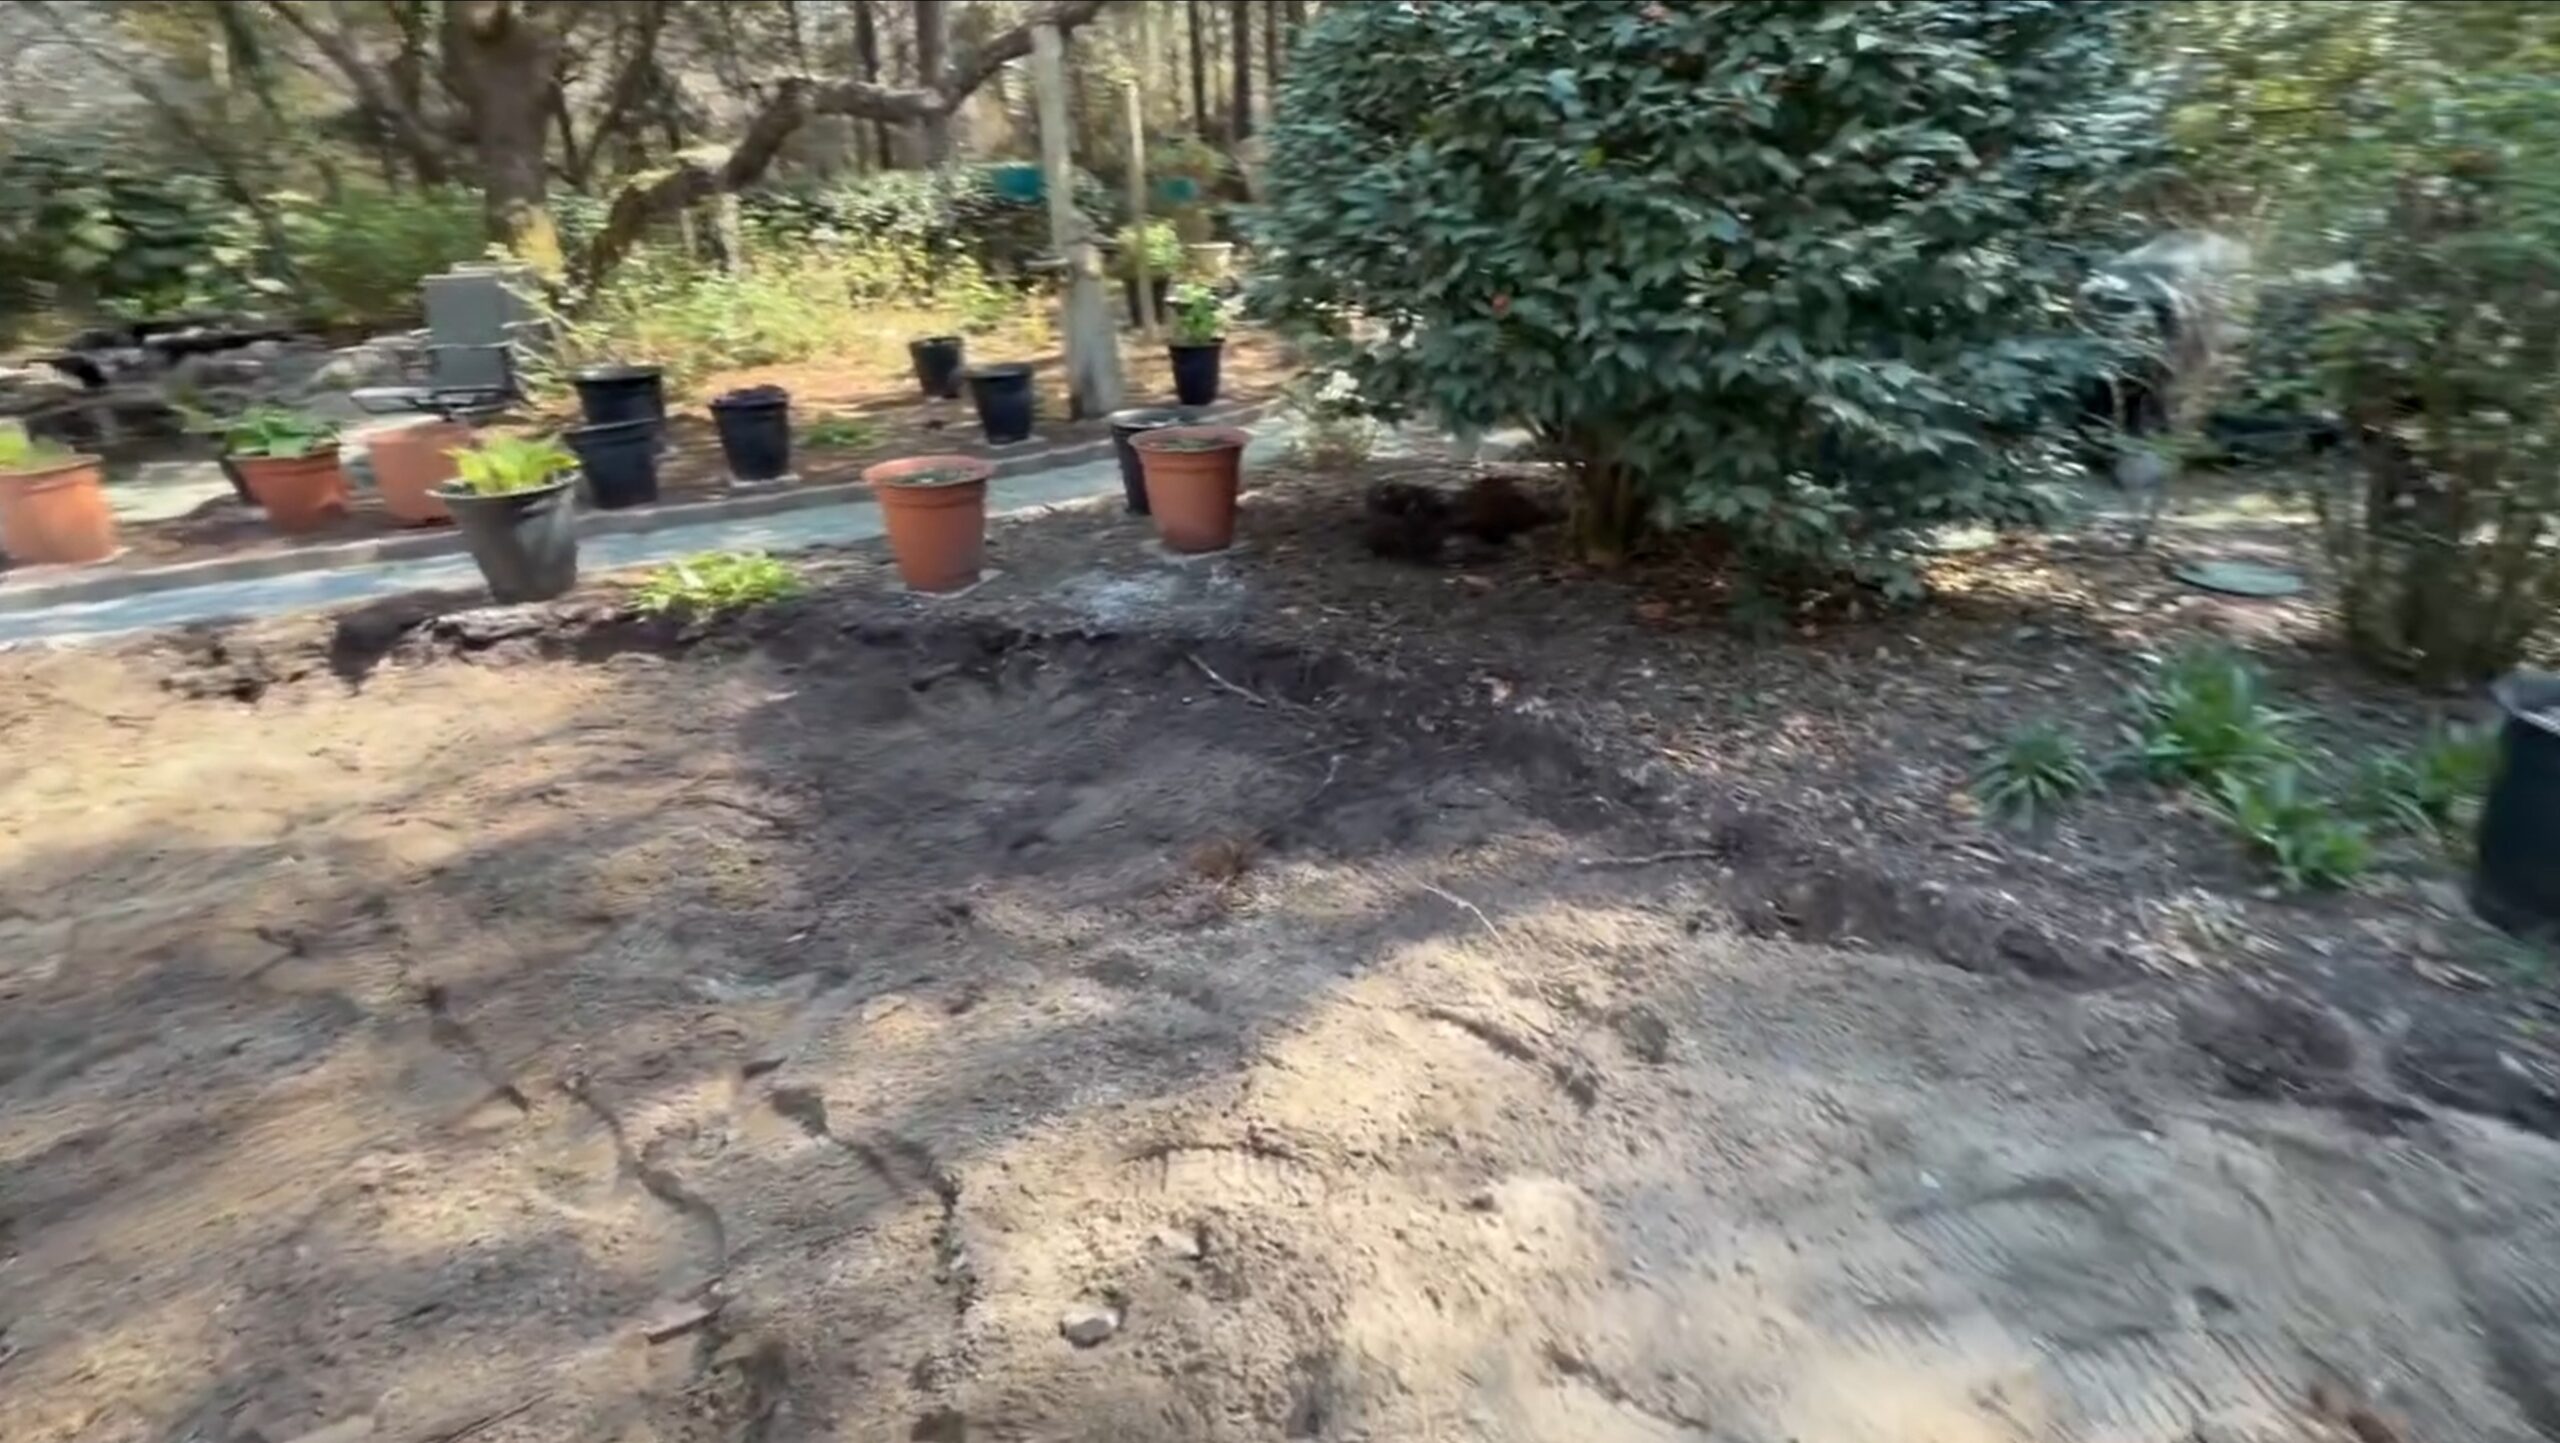
Excavation and Laying Out the New Patio Shape
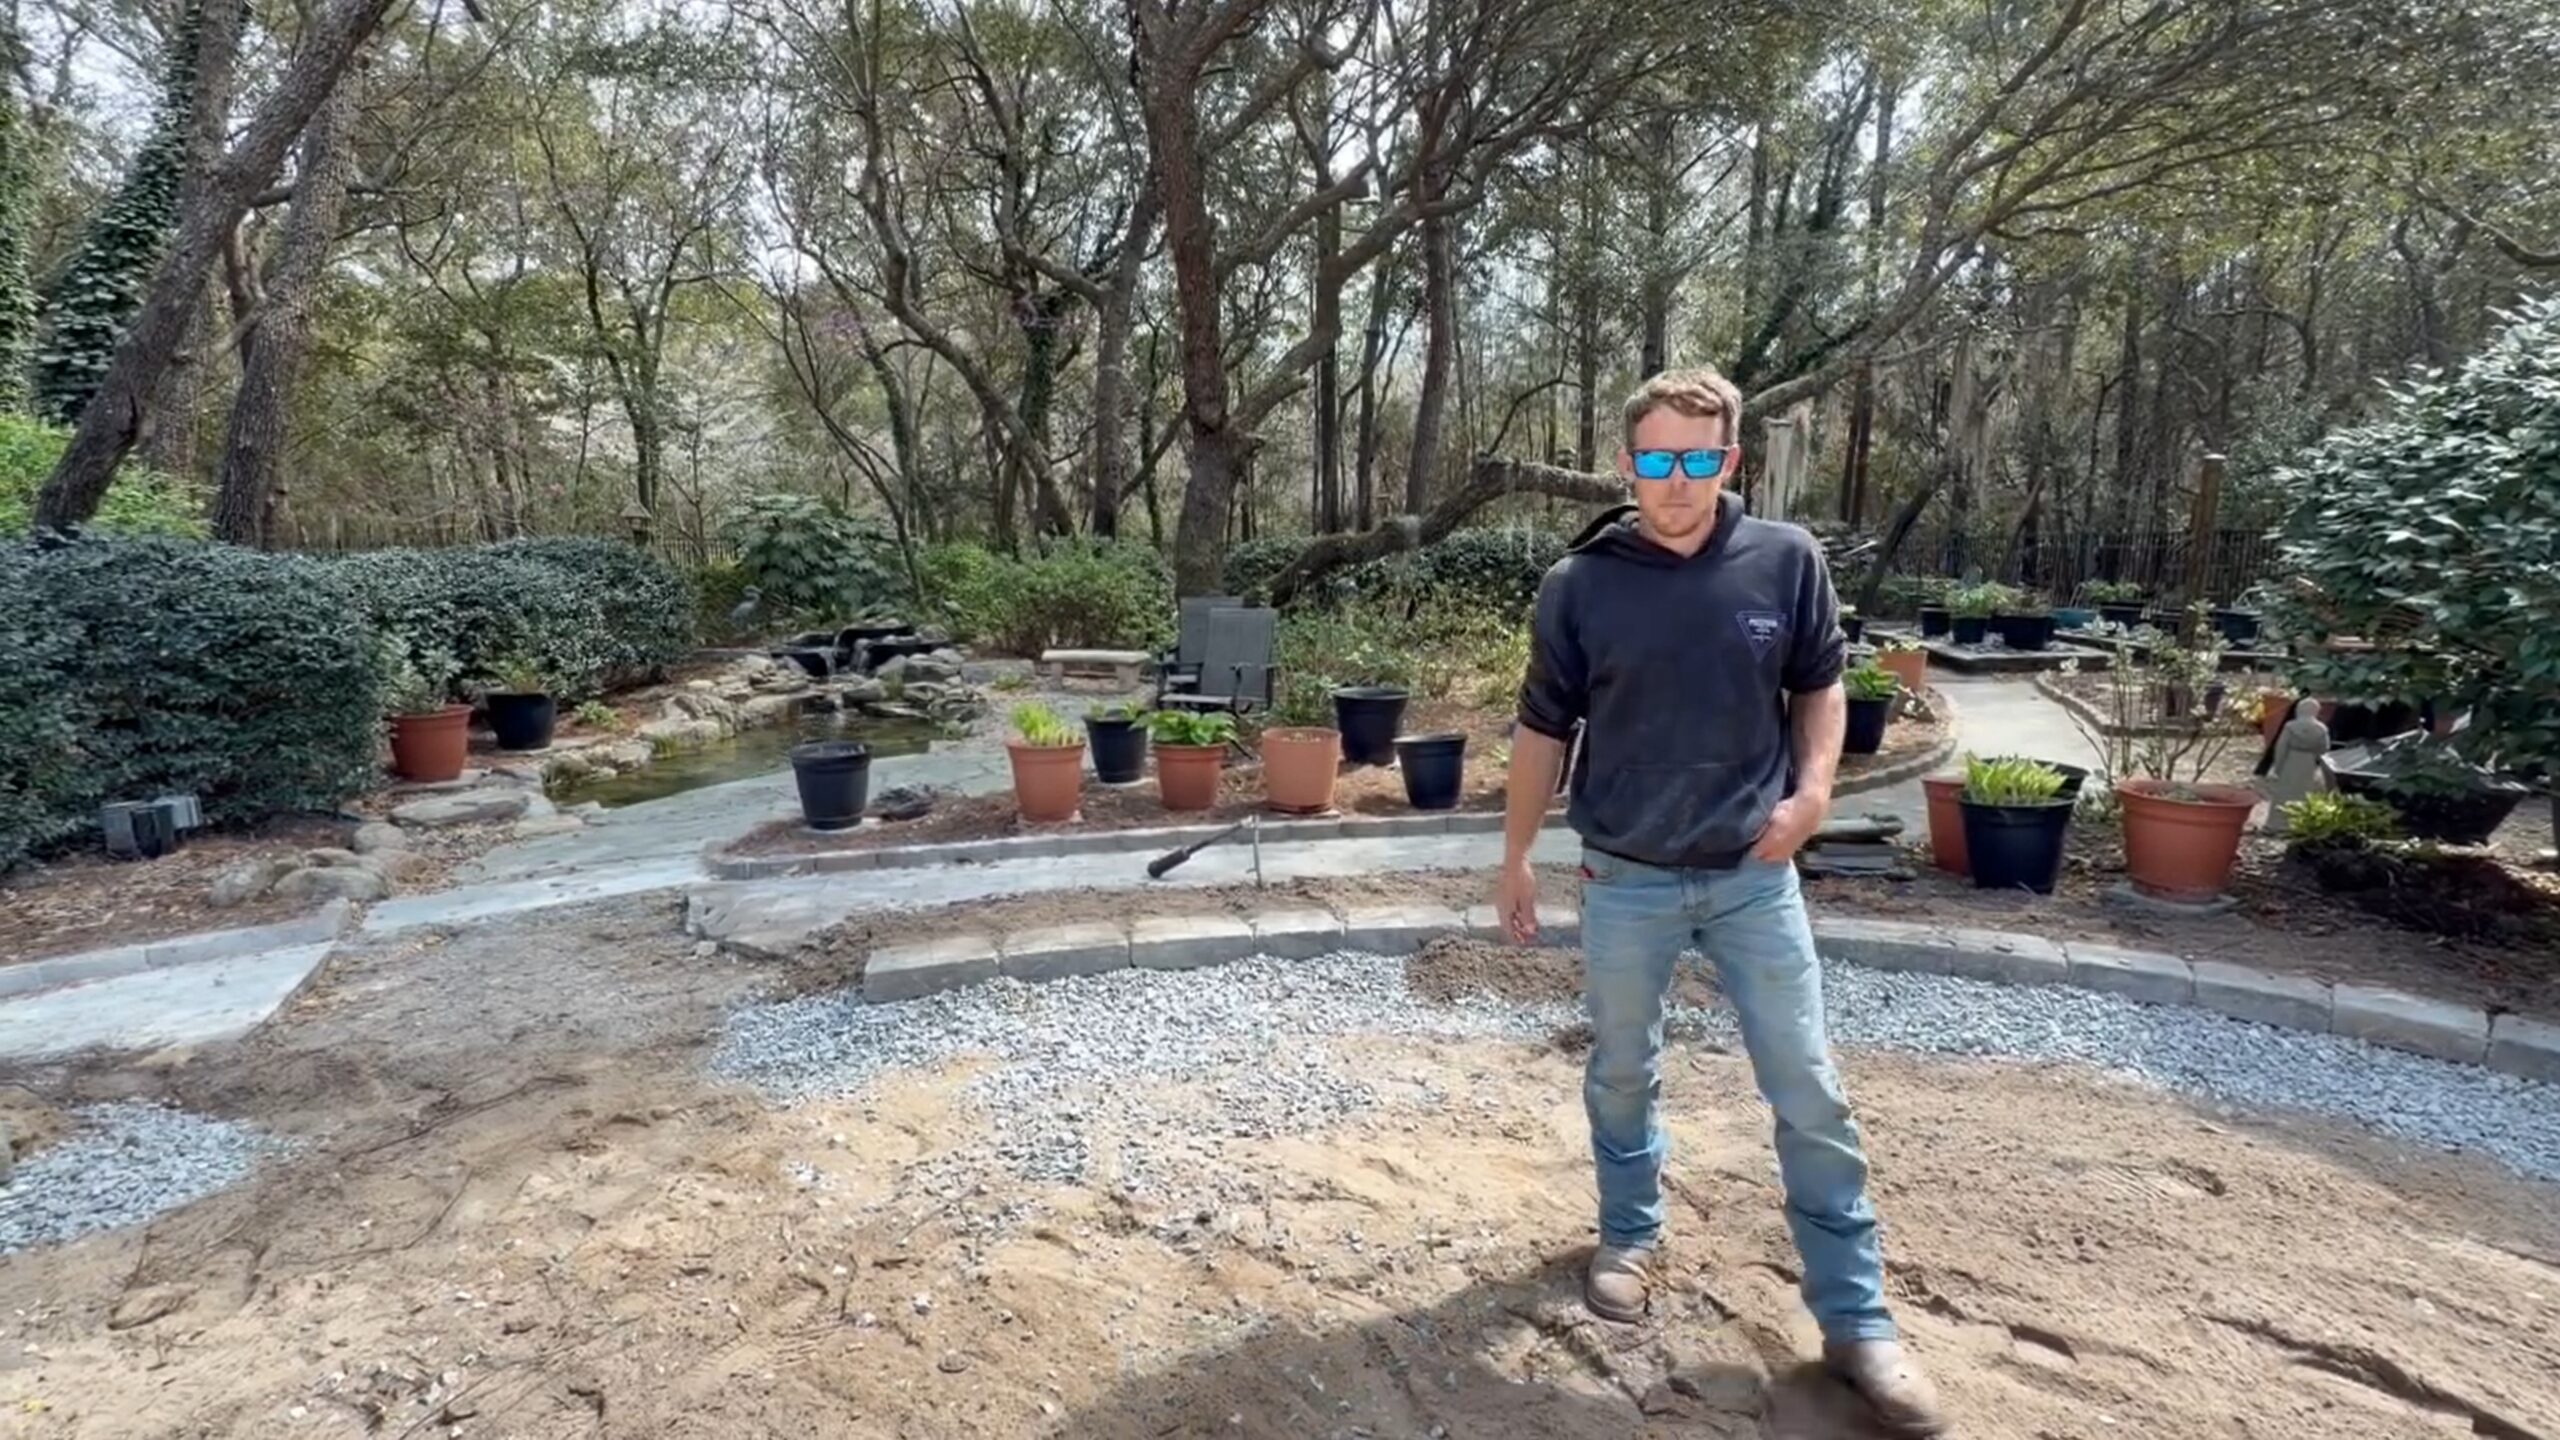
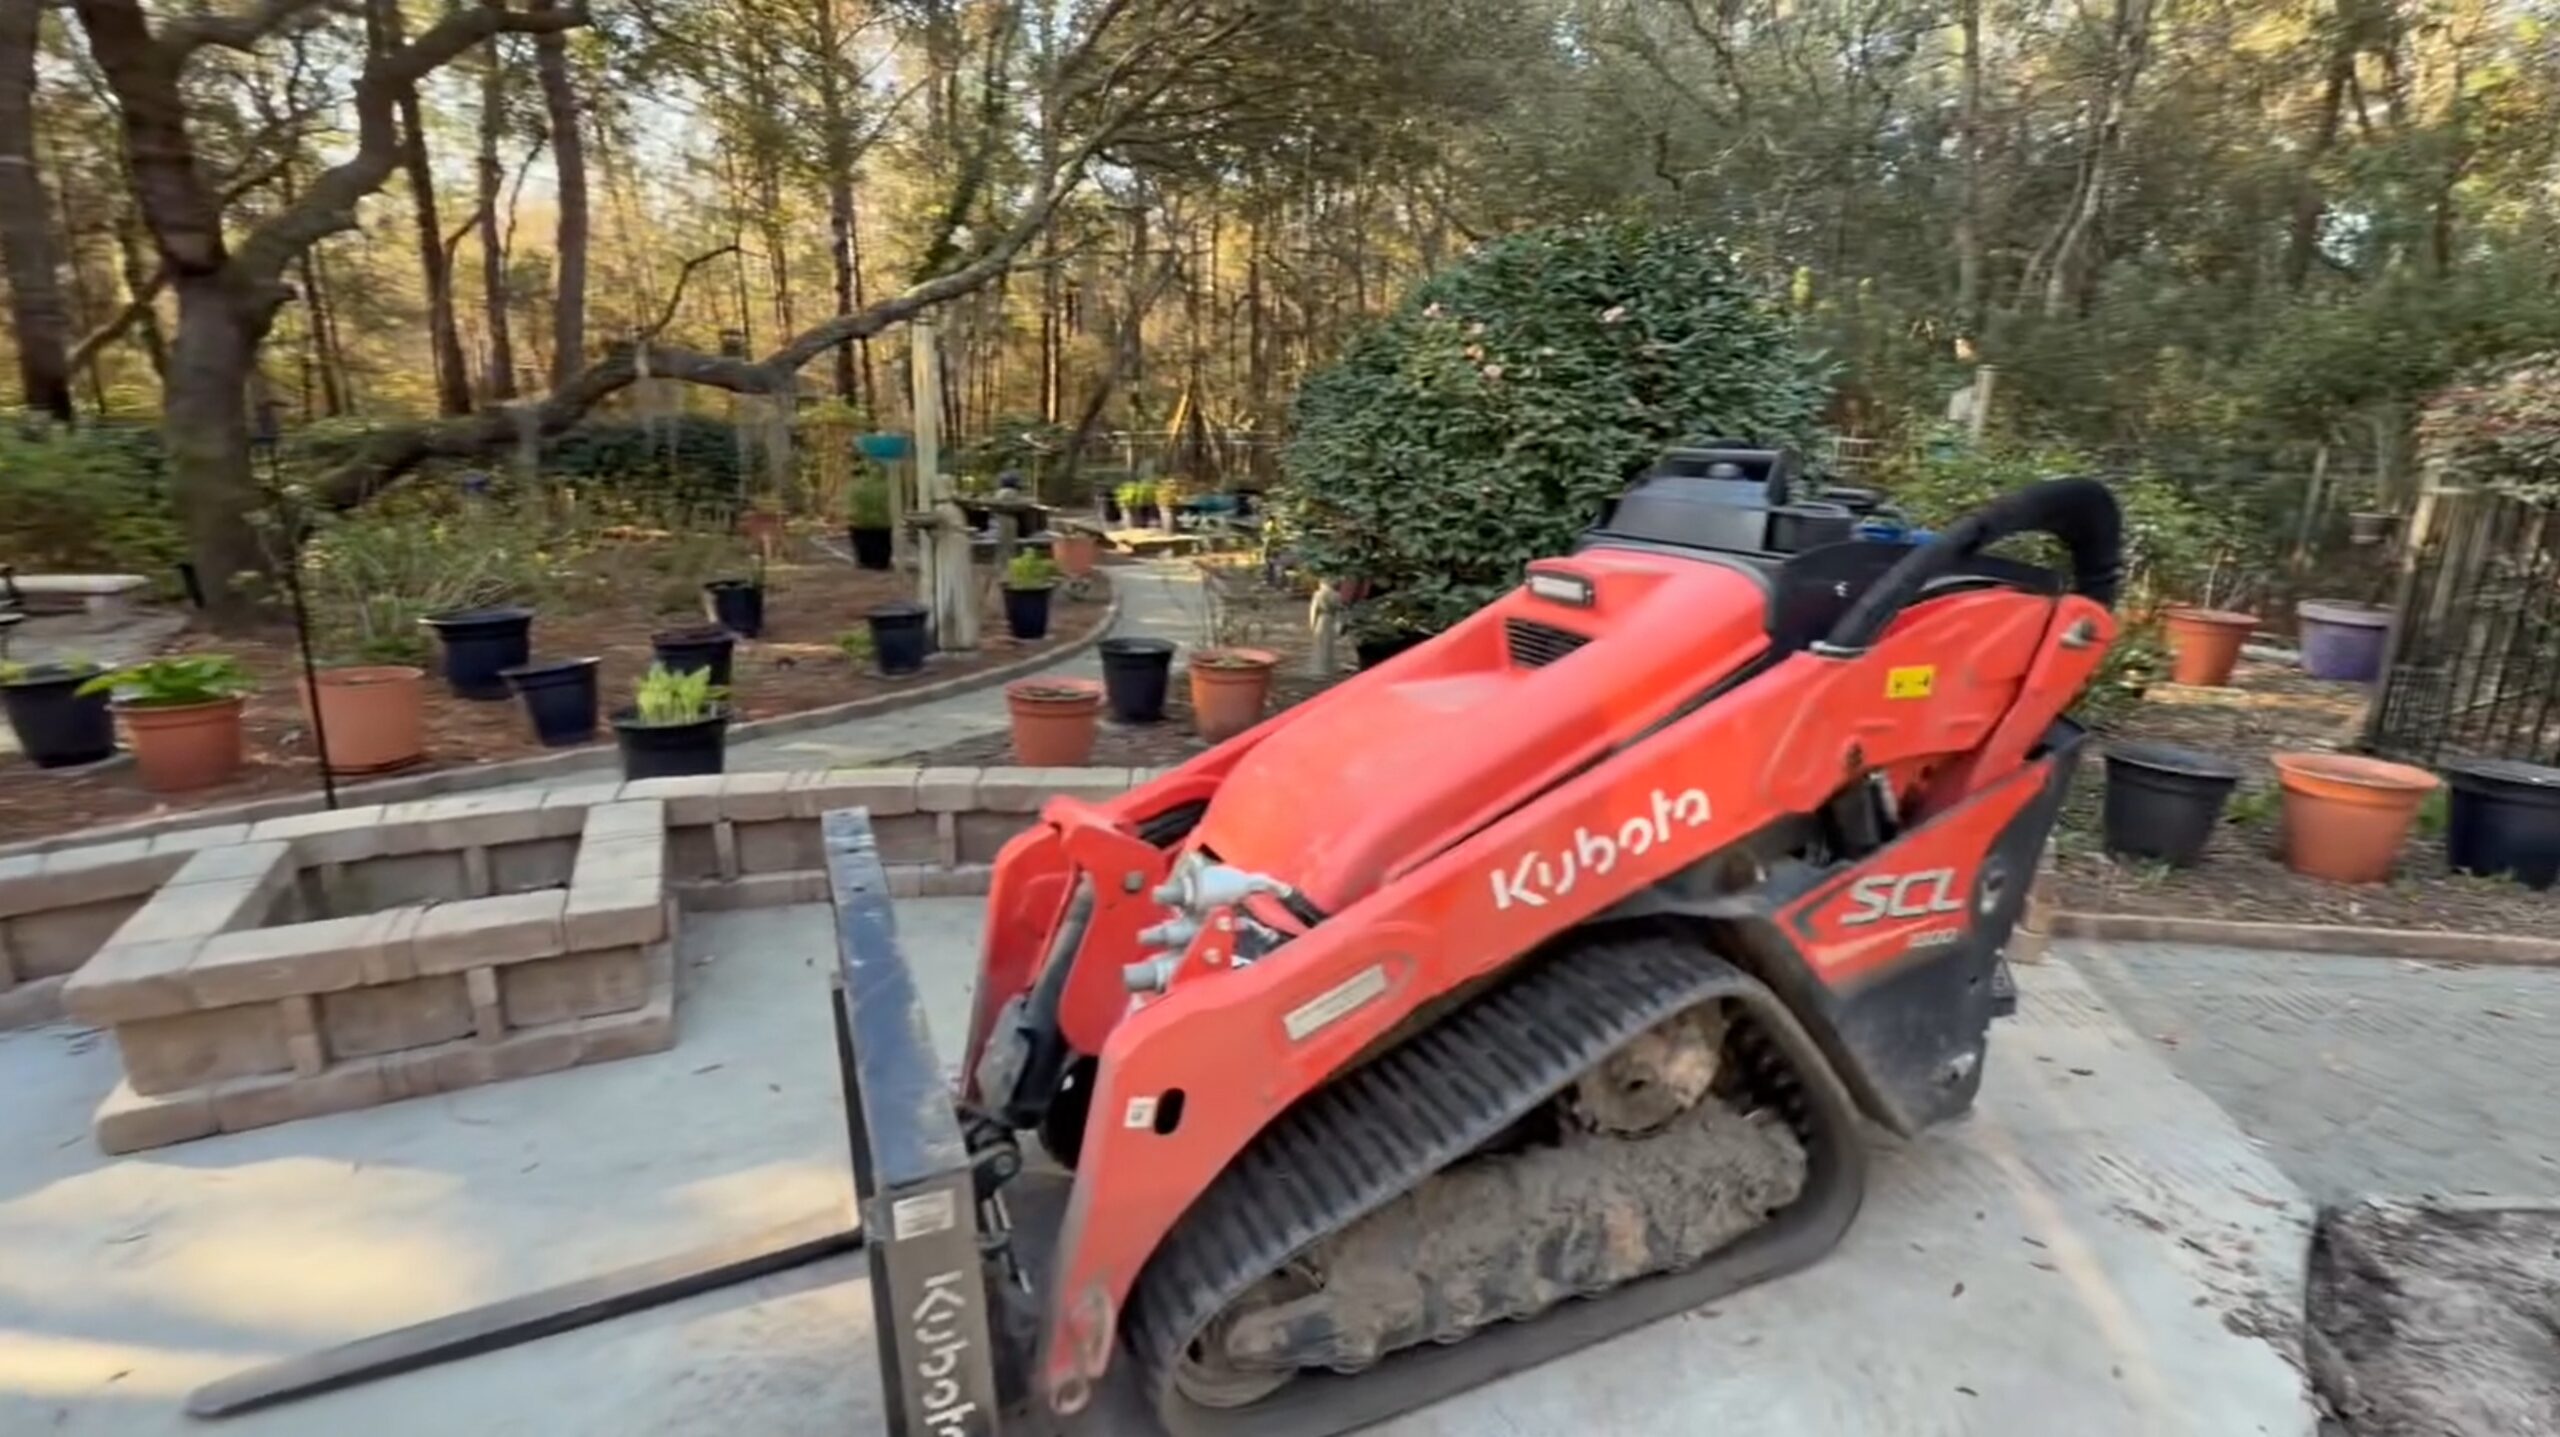
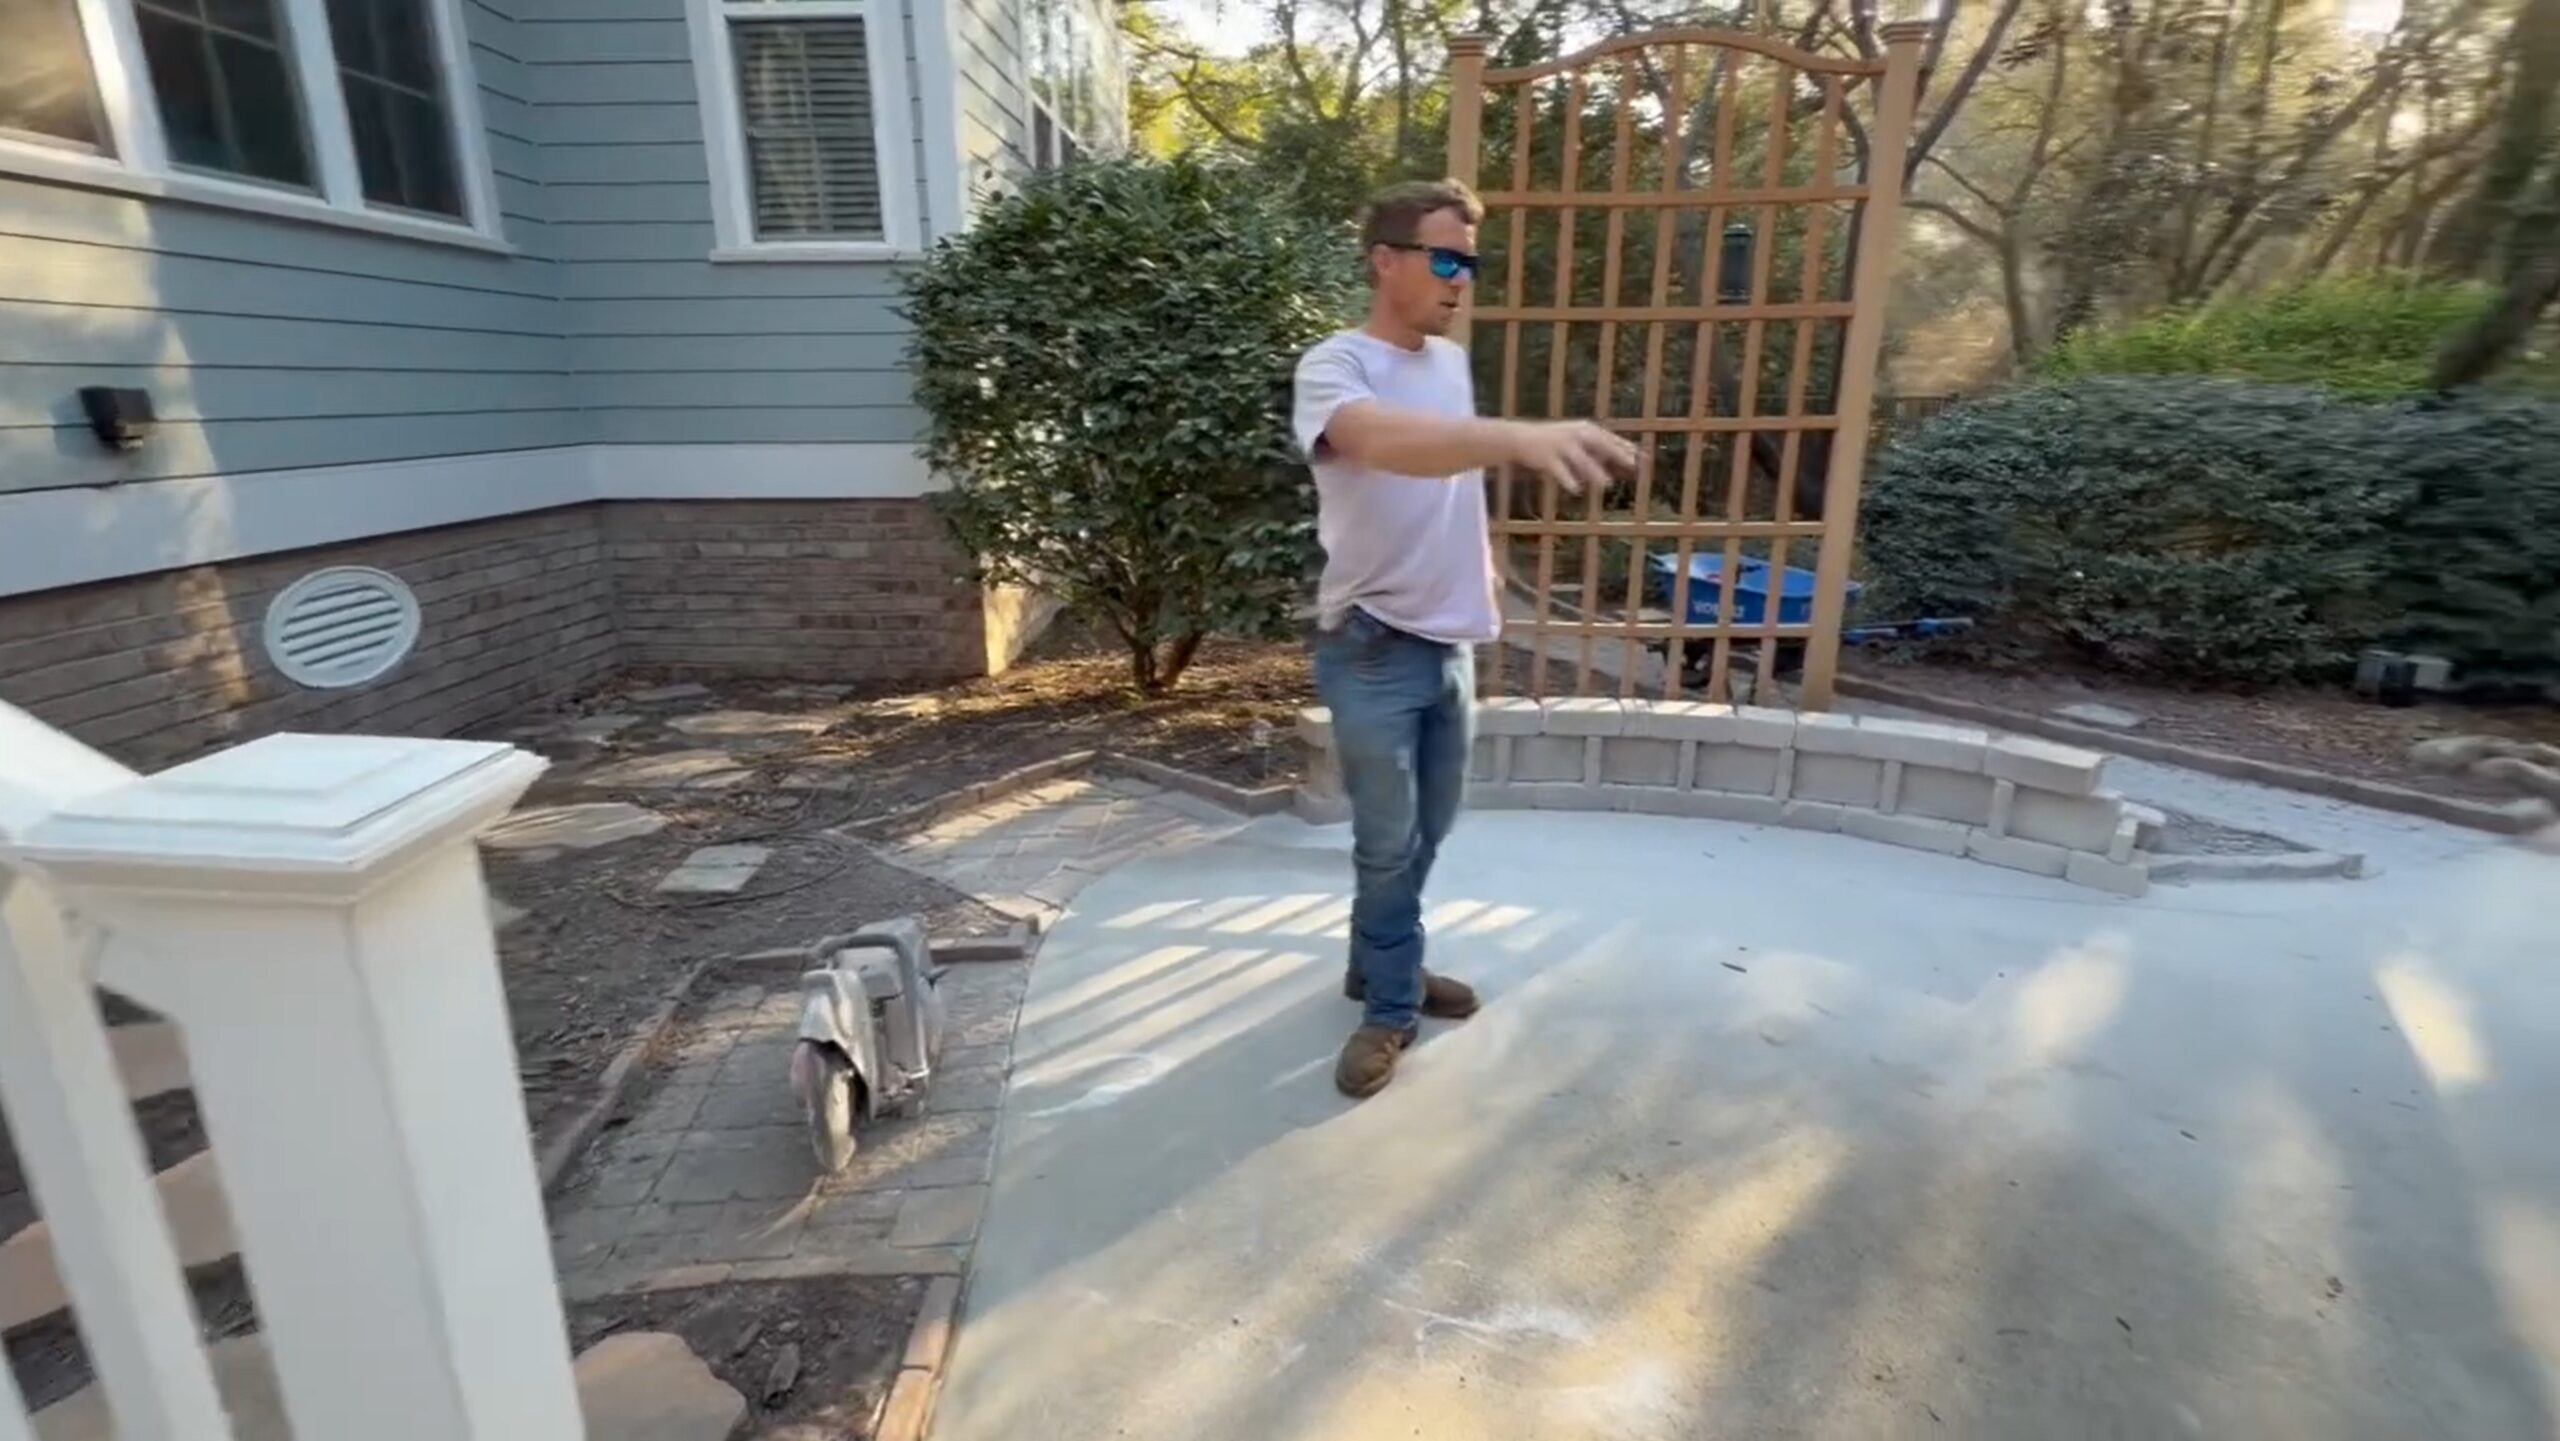
Once the old concrete was out, the team did a rough dig-out to establish grade and began laying out the shape of the new patio. This is where the design really starts to come to life on the ground.
“You can see we got the shape of our new patio already laid out here,” Matt explains. “We’re going to get some base in tomorrow. Start building our seat wall.”
The layout phase is more important than most homeowners realize. It’s not just about aesthetics — it determines how base material will be distributed, where the seat wall will land, and how the patio connects to the home’s rear entry and the surrounding garden space. Getting it right on paper and in the field before a single paver goes down prevents costly mistakes later.
For this project, the team was working with a wooded, naturalistic backyard setting — mature live oaks, ornamental shrubs, an existing water feature — which meant the patio shape needed to complement the landscape rather than fight it. The curved layout you can see taking shape in the photos reflects that thinking.
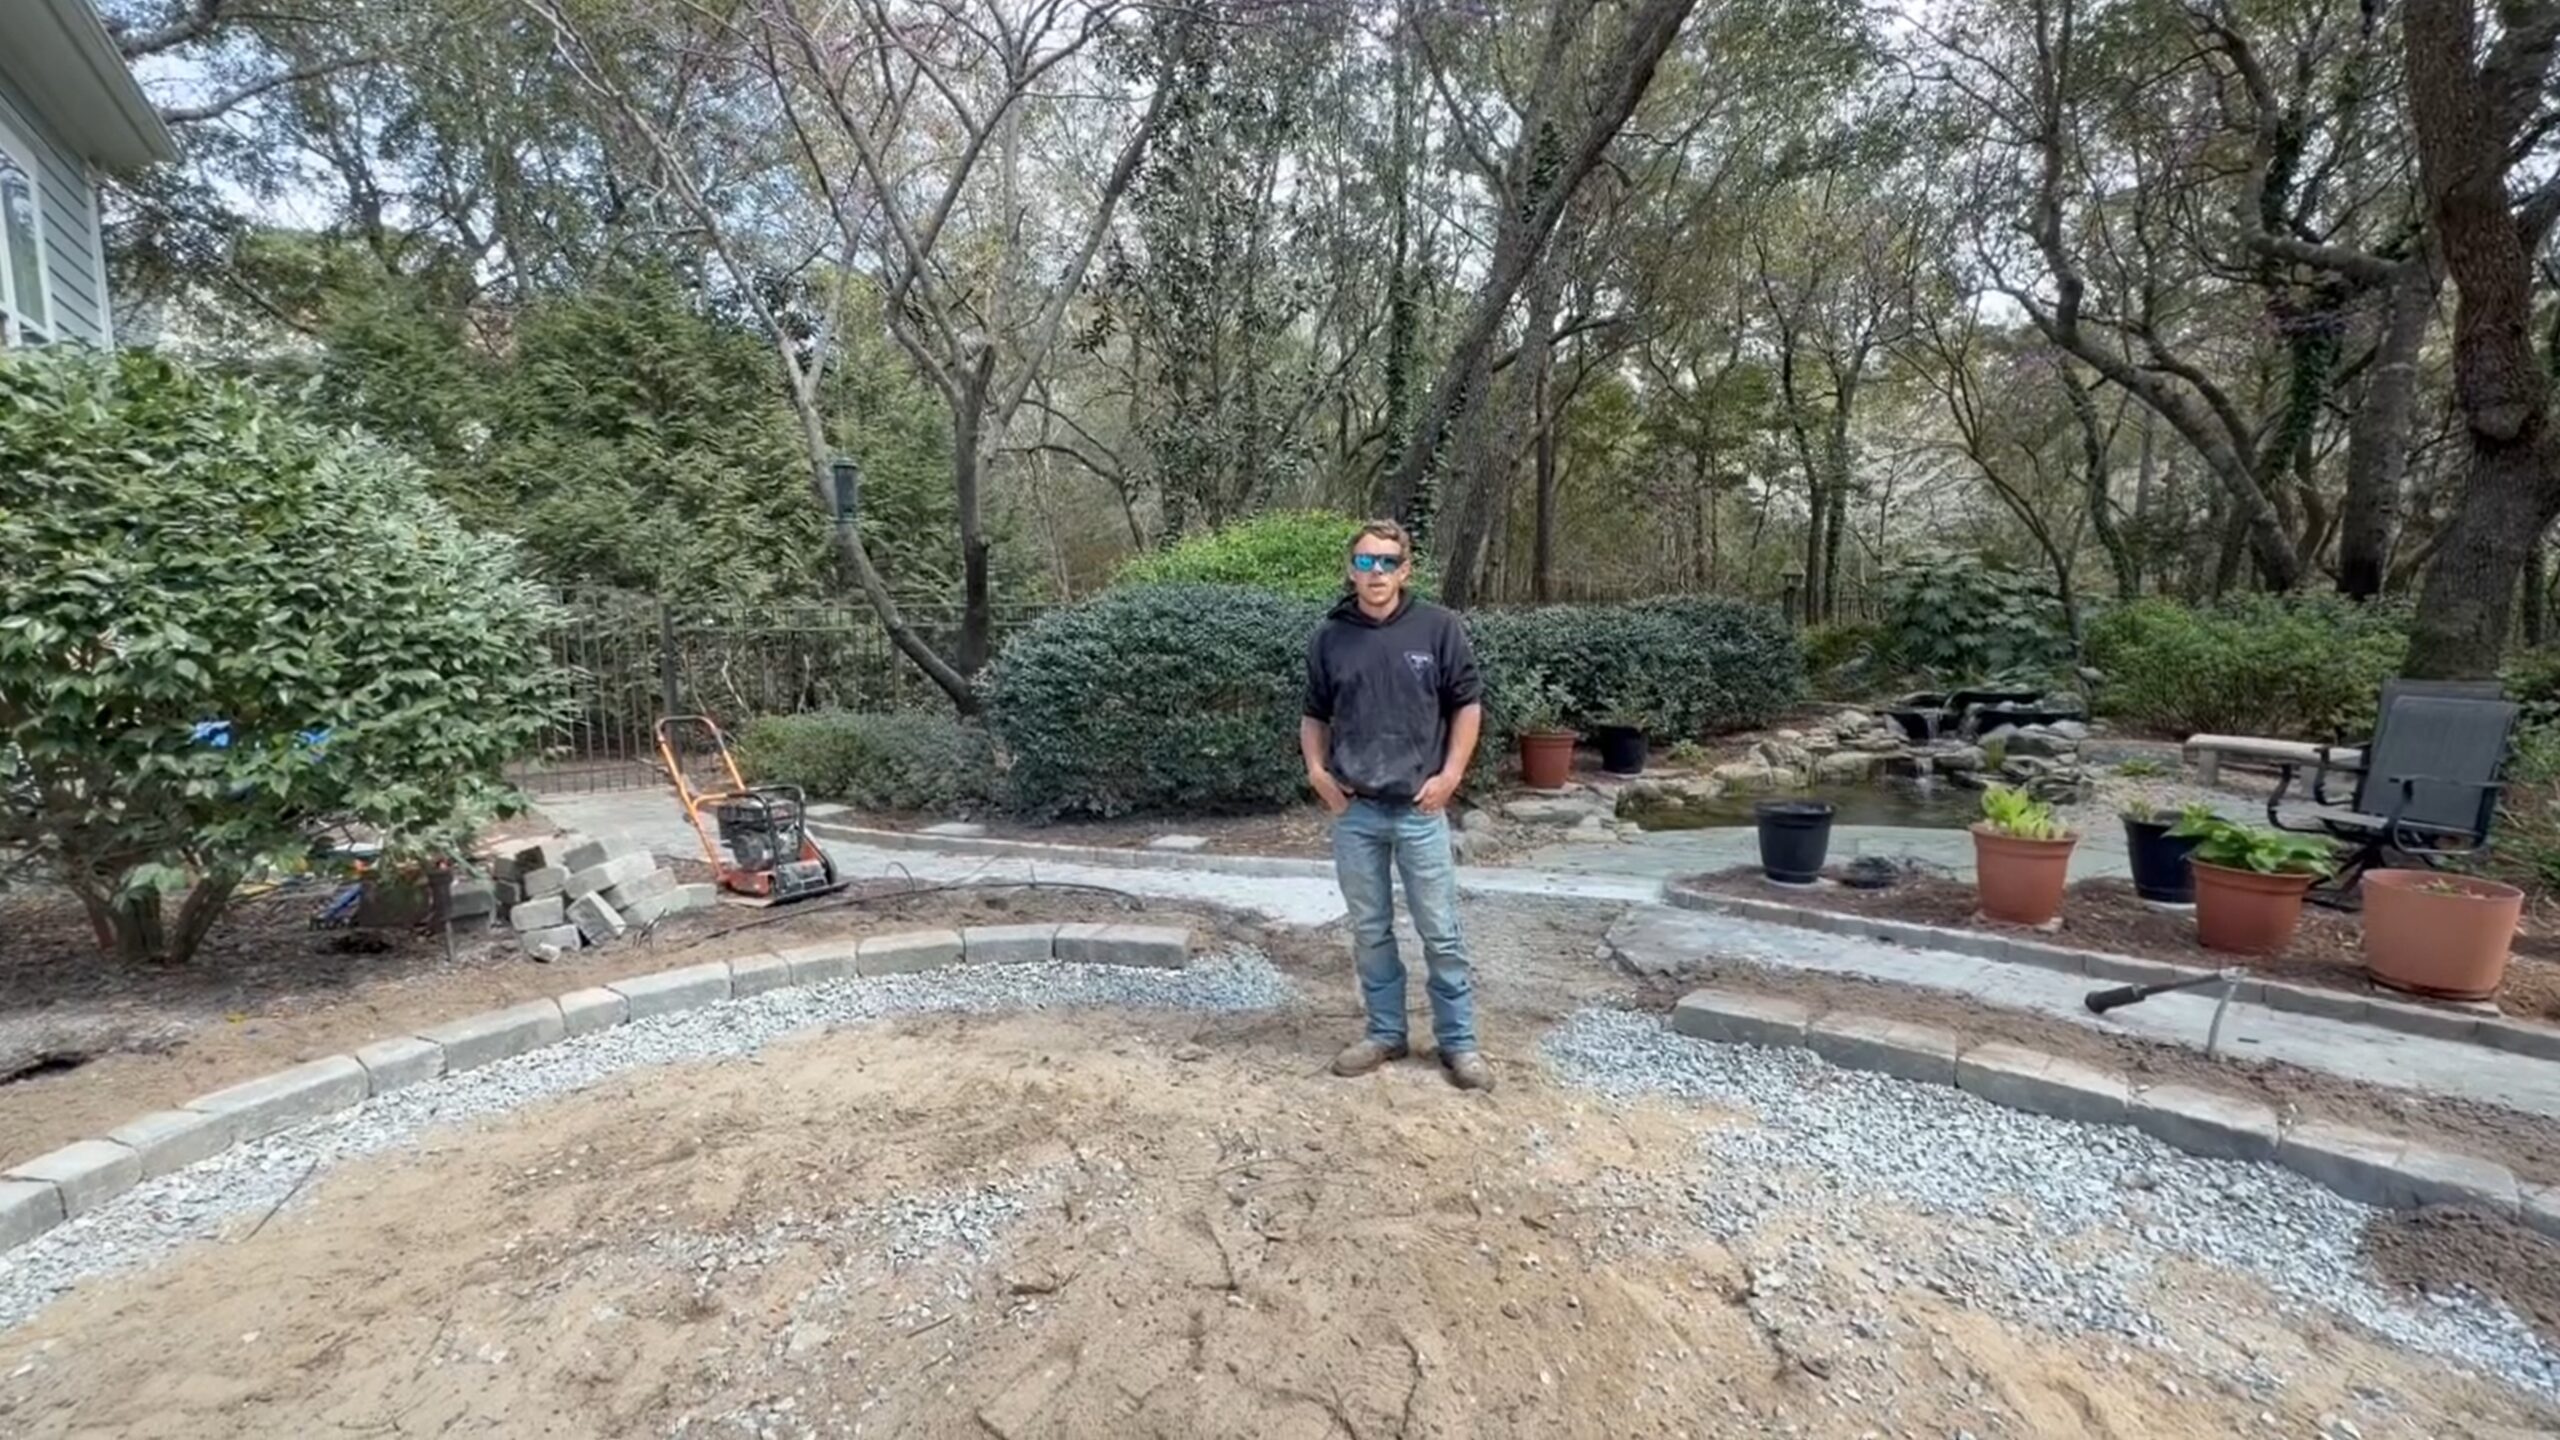
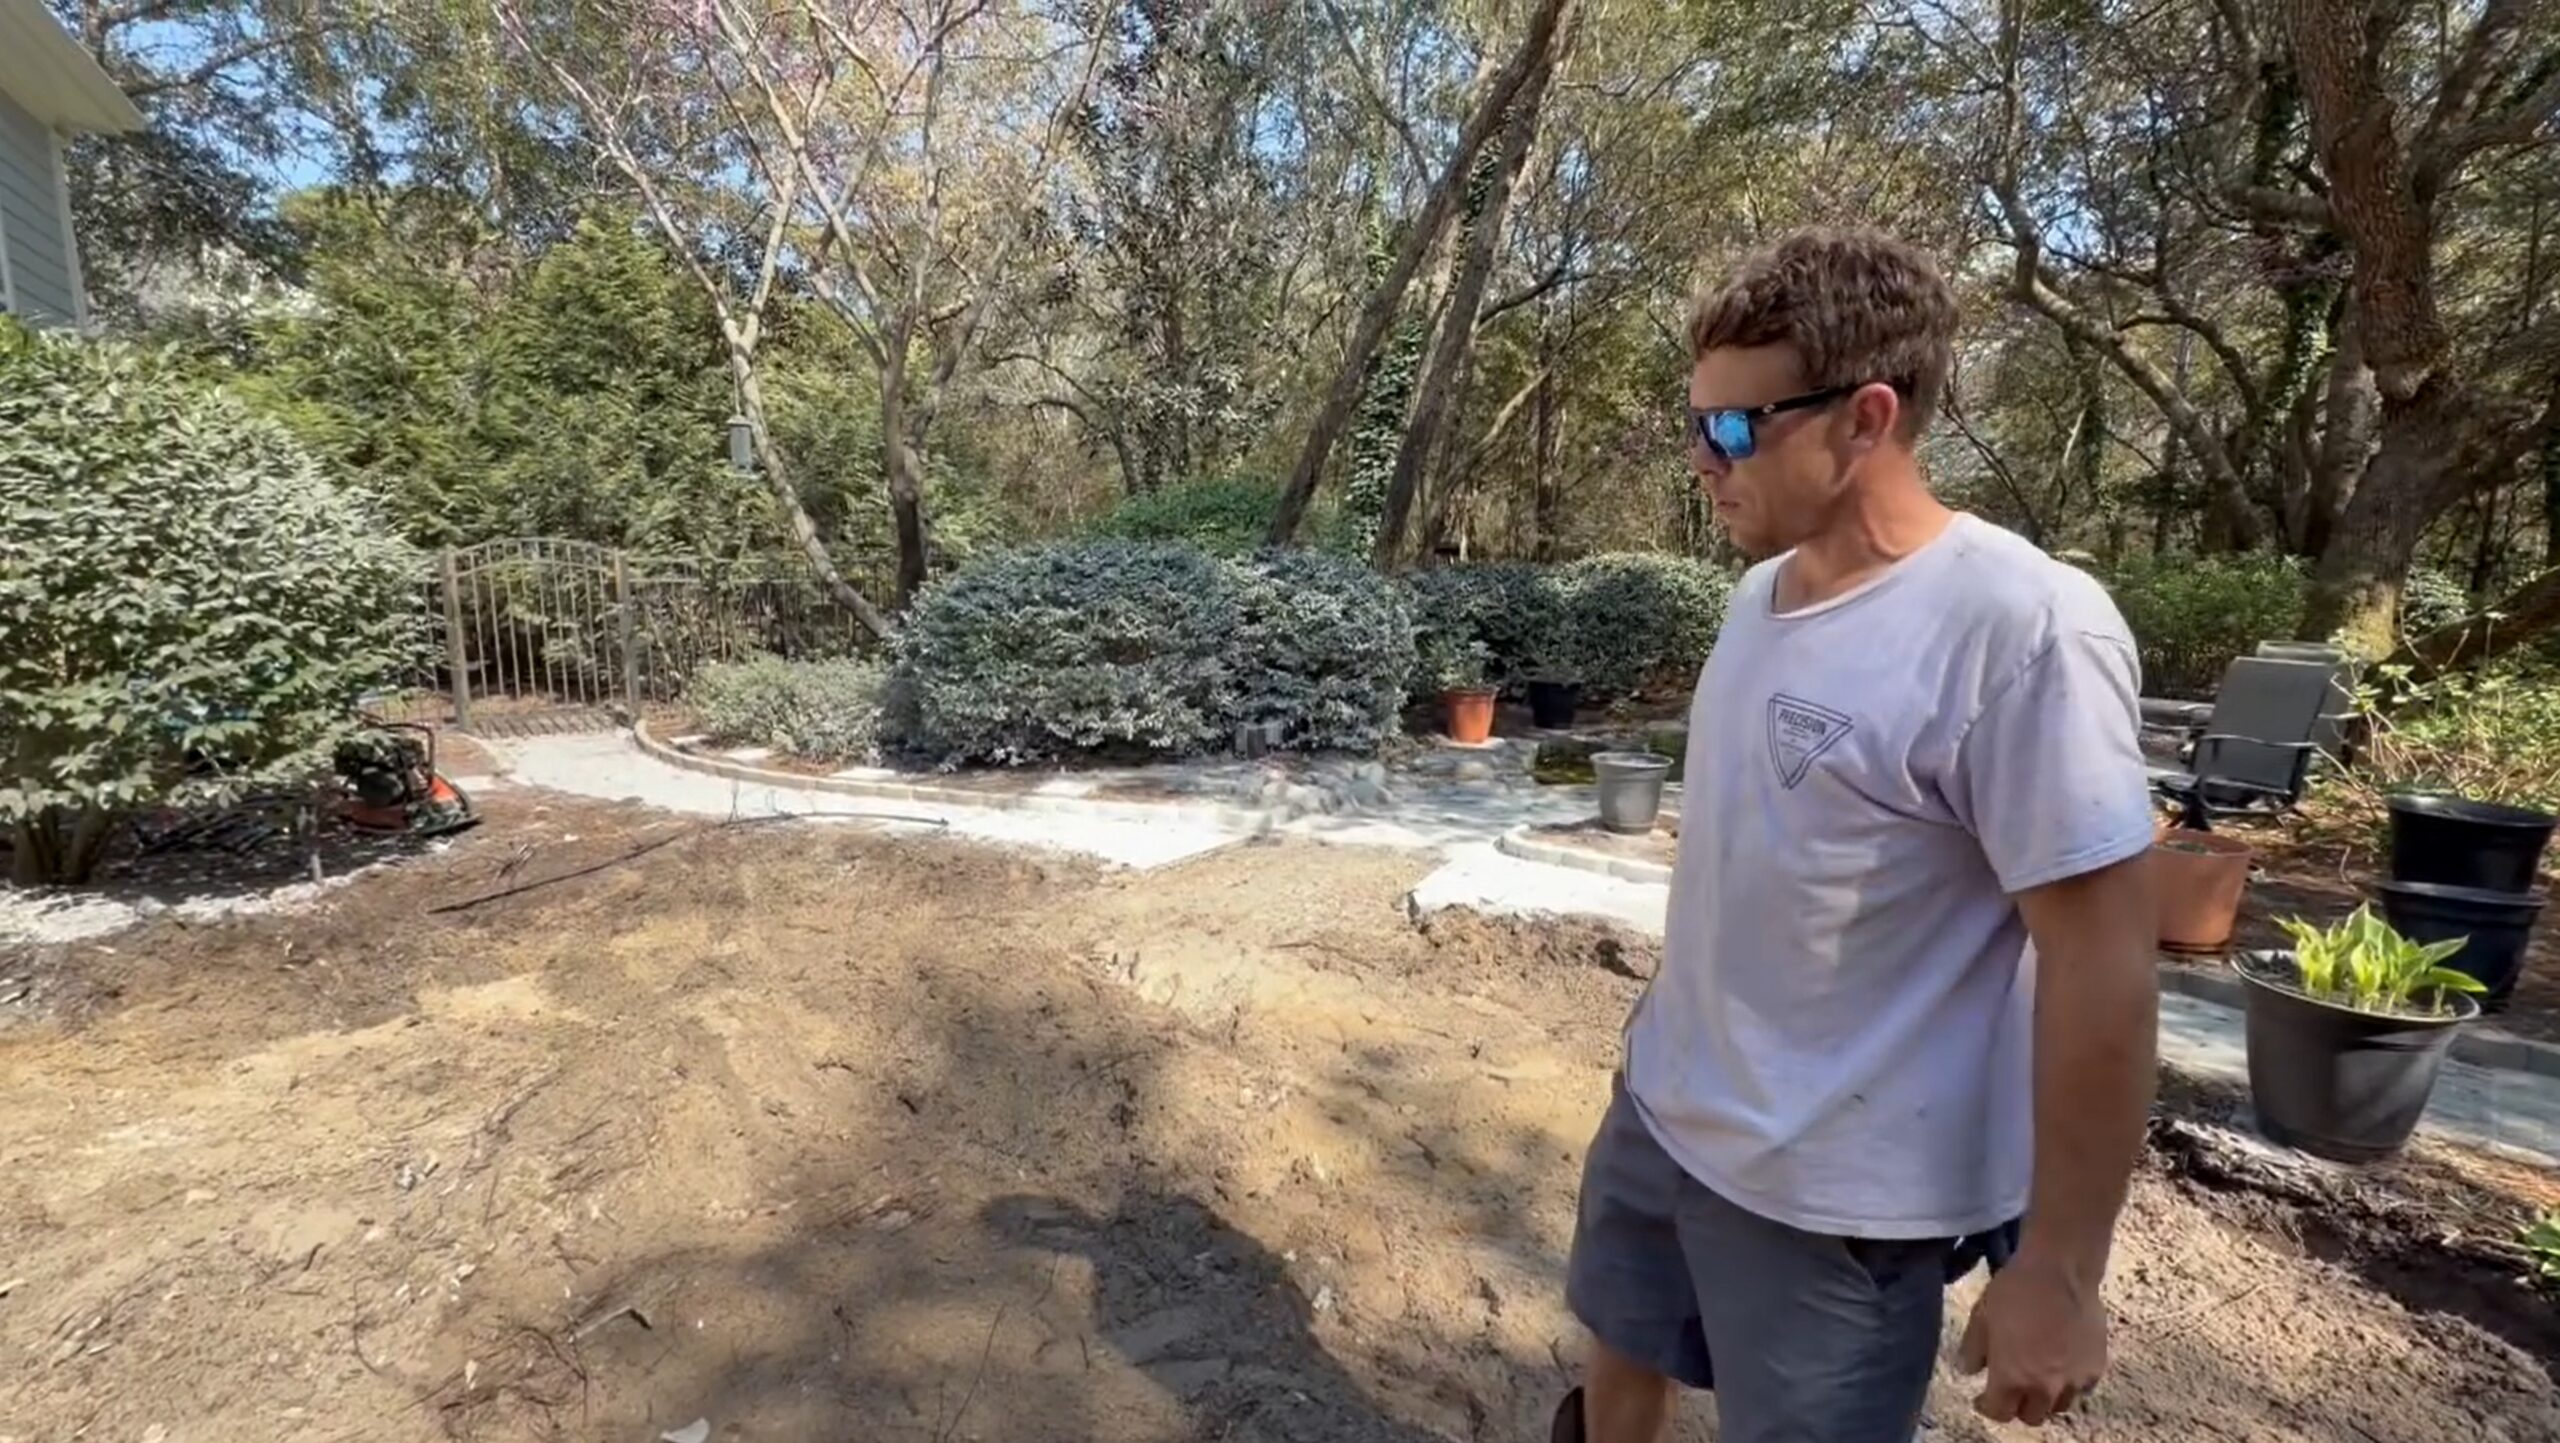
Building the Curved Seat Wall
The seat wall is the defining feature of this patio design, and it’s where the crew’s attention to detail really shows. Matt walks through the base course installation in one video update, setting the stage for what comes next.
“We got our base course in for our seat wall. We’re going to be stacking tomorrow — about four courses and a cap. It’ll be a perfect 18-inch seat from the pavers. Got real nice curvature going on here.”
An 18-inch seat height is the sweet spot for outdoor seating walls. It’s comfortable for most adults, it integrates naturally with patio paver height, and it creates a defined edge that separates the hardscape from the landscape beds beyond it.
The curvature of the wall is a design decision that pays dividends in the finished product. Curved walls follow the natural flow of a yard far better than straight-line alternatives — especially in a wooded coastal setting like this one. They’re also more structurally sound in certain applications because the arc distributes lateral pressure more evenly.
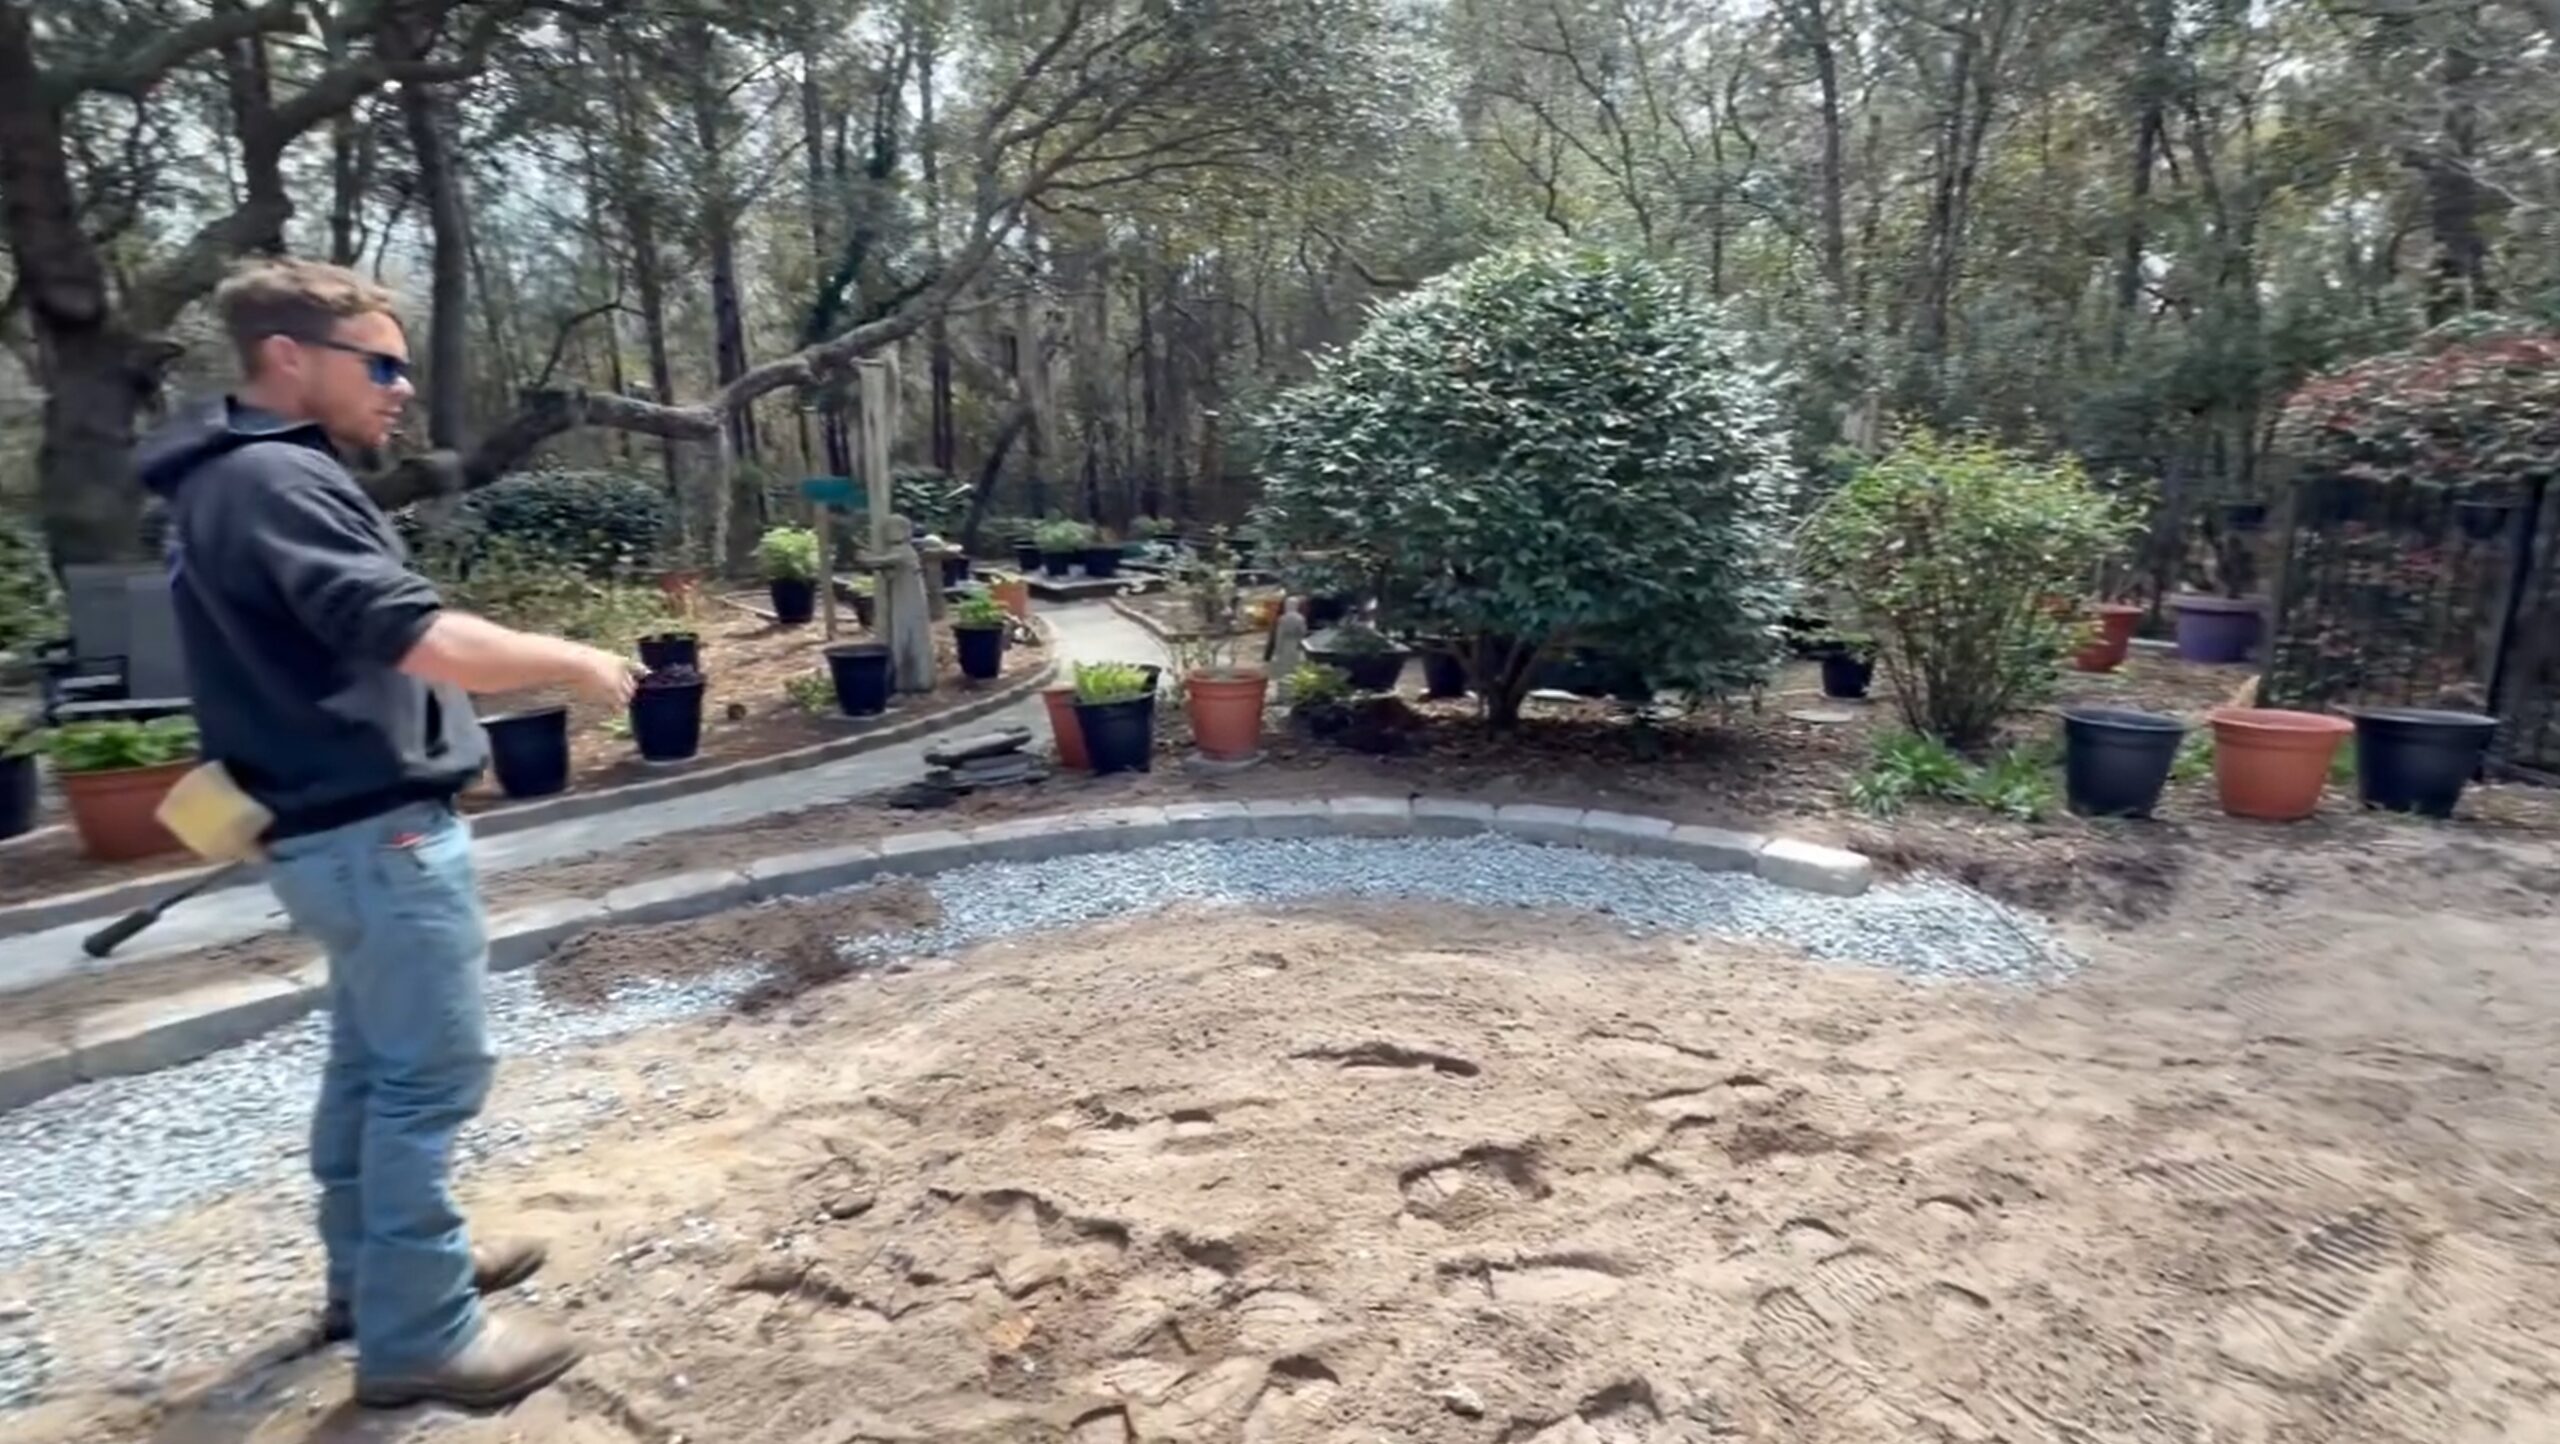
Gravel Base: Built for Drainage
In the mid-progress photos, you can see crushed stone (blue granite gravel) already placed in sections of the patio area. That’s not decorative — it’s functional. In coastal Carolina’s sandy, high-moisture soil environment, a well-compacted gravel base is what separates a patio that holds up for decades from one that shifts, sinks, and cracks within a few years.
The gravel base allows water to drain away from beneath the pavers rather than pooling under them, which is one of the primary failure points for hardscapes in this region.
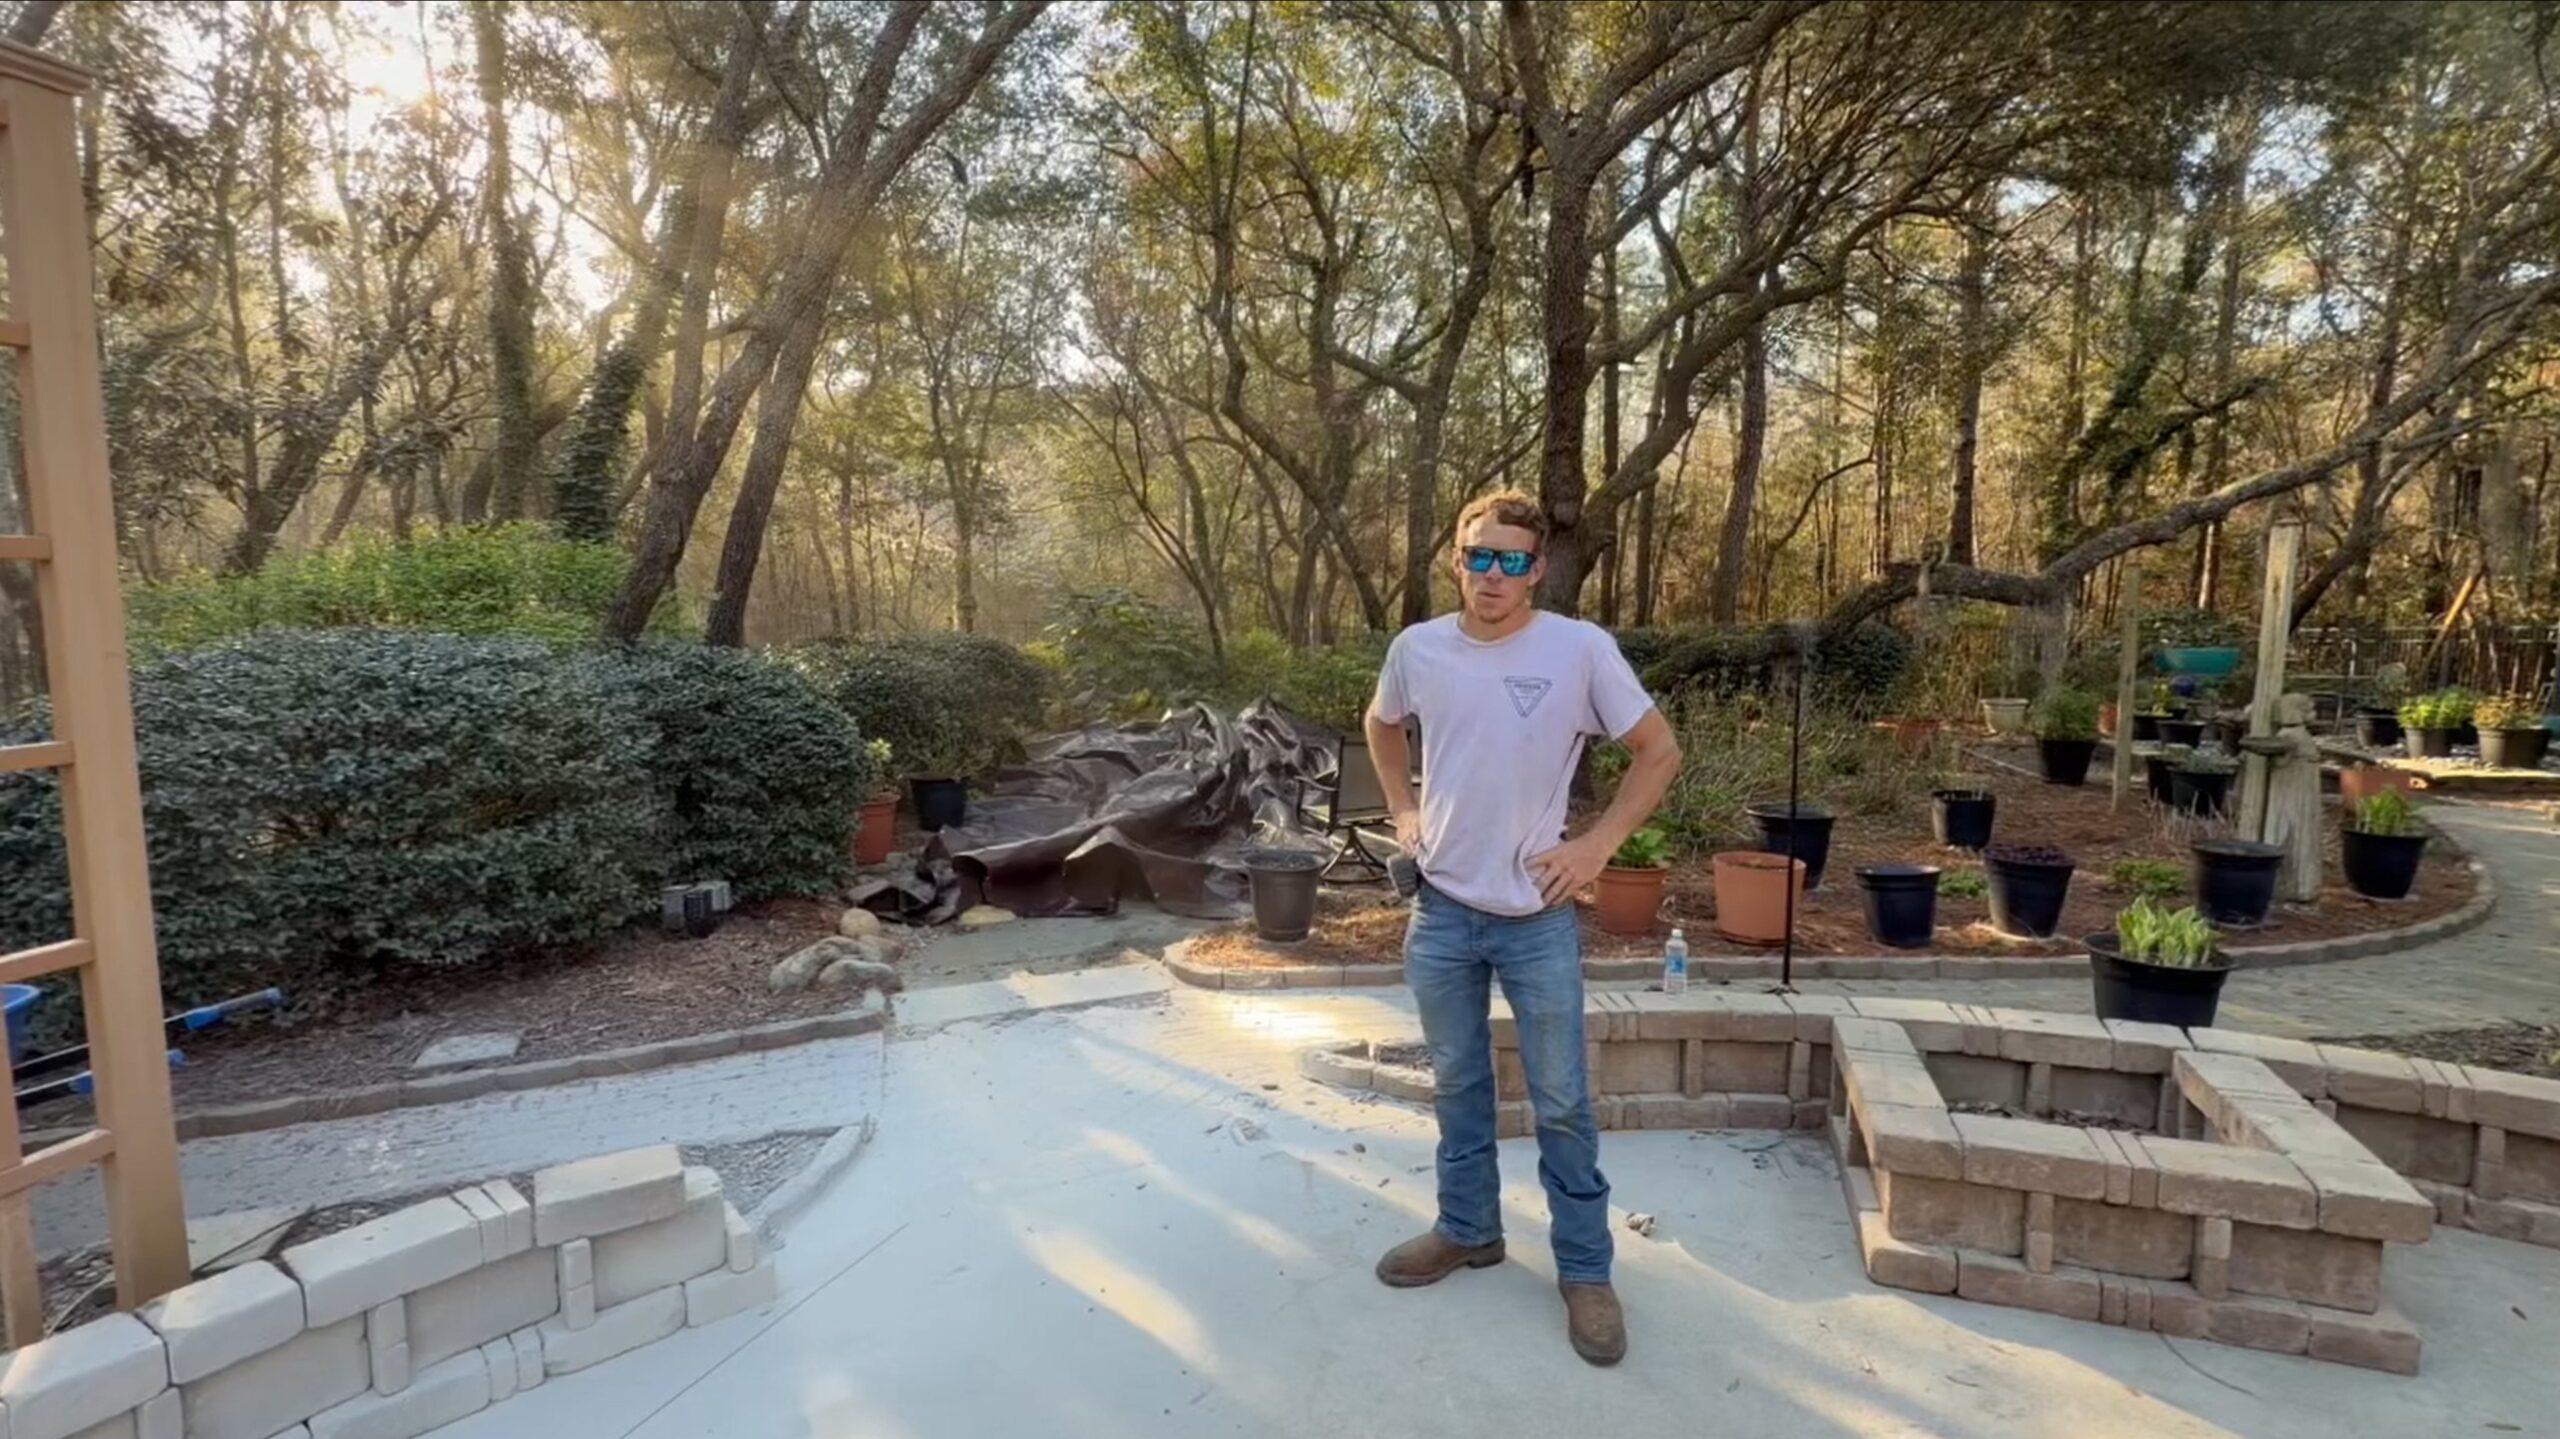
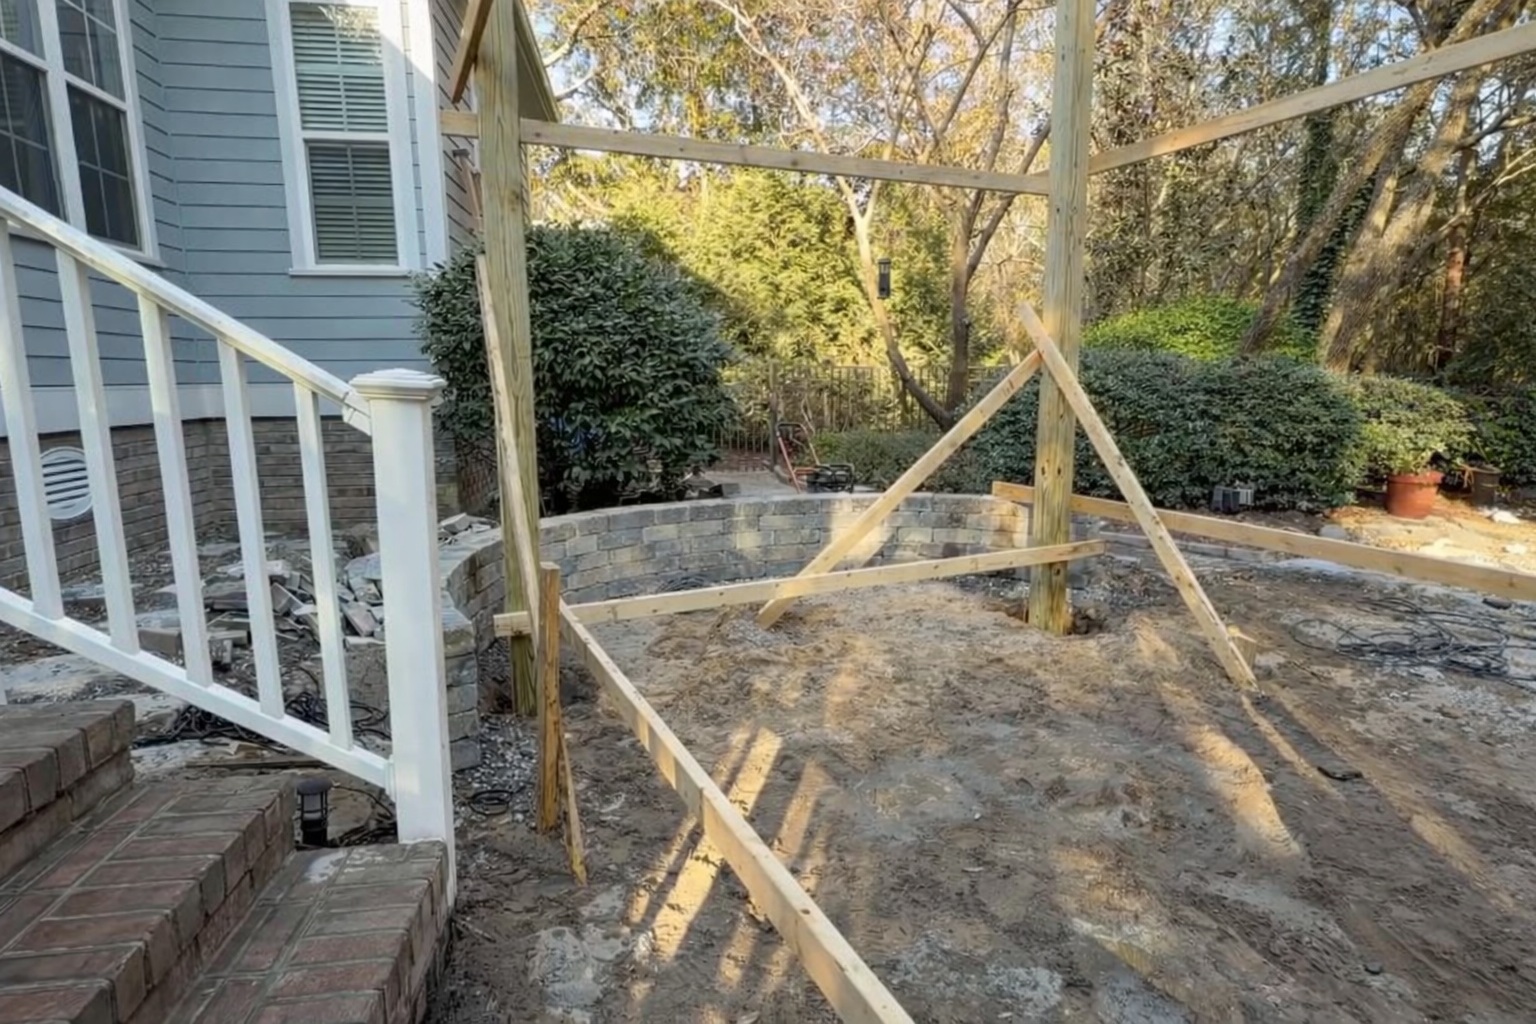
Setting the Pergola Posts
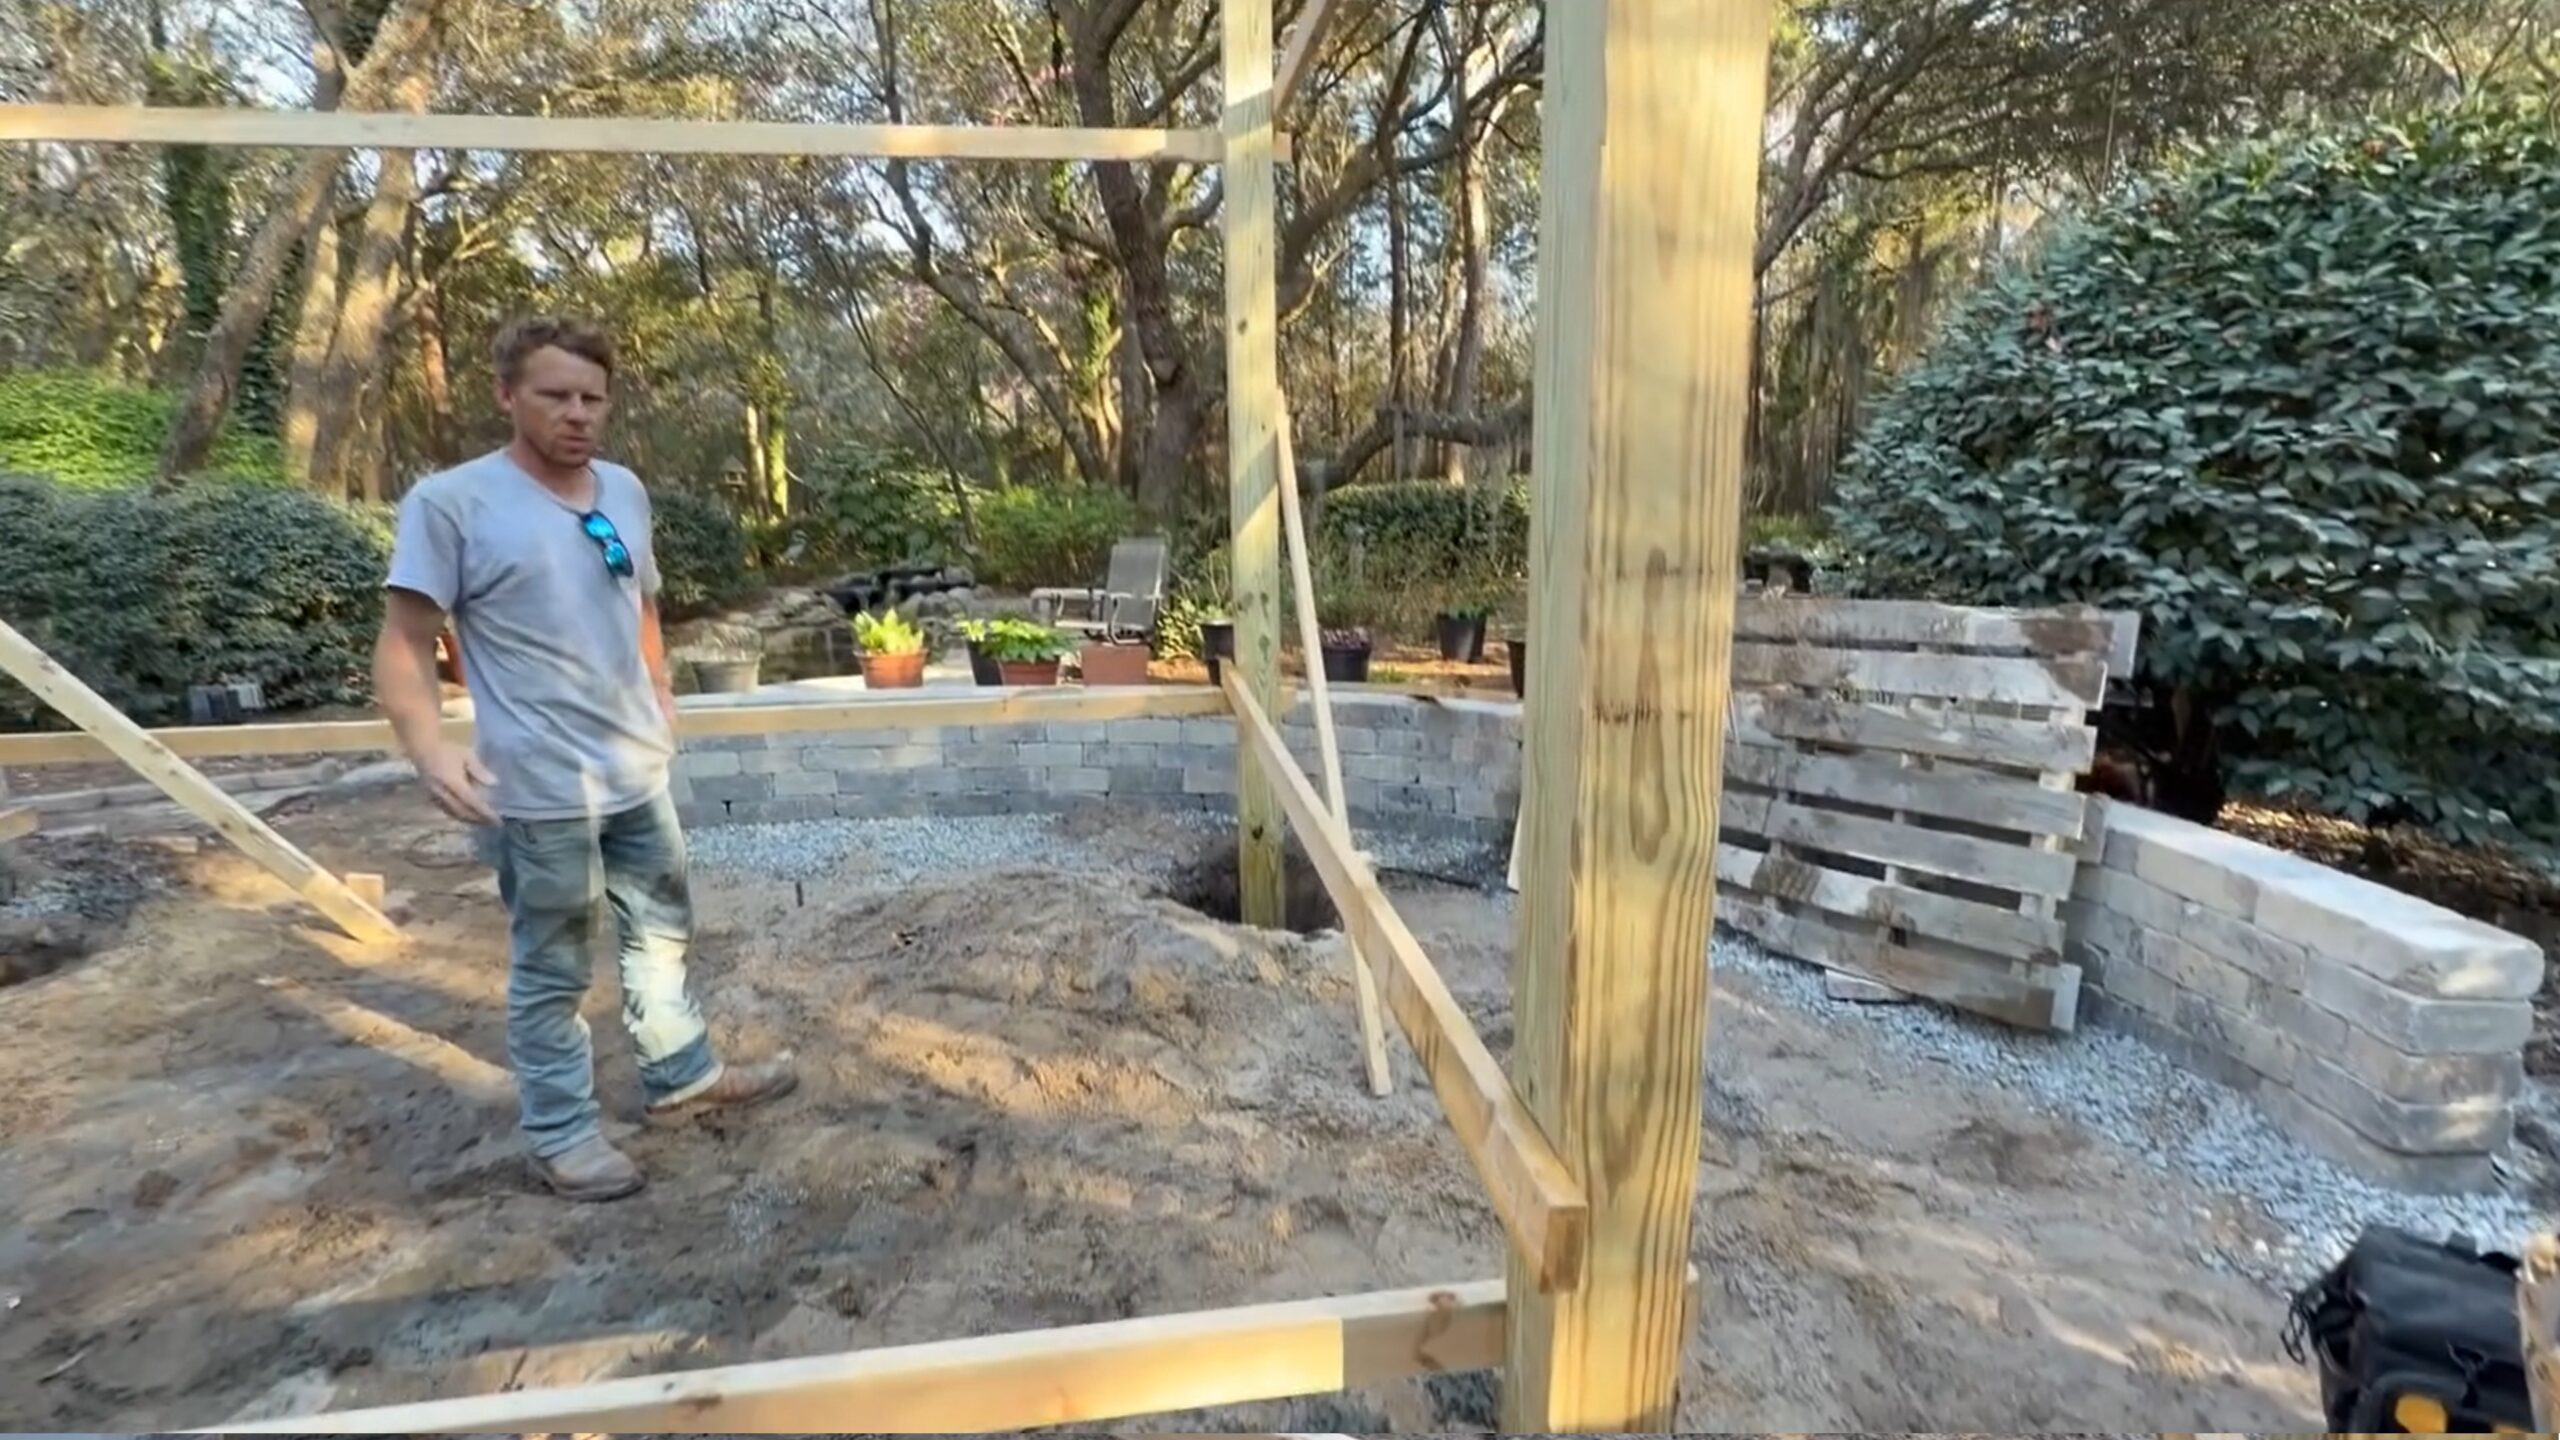
Once the seat wall reached the cap course, the next big milestone was setting the pergola posts. This is always a satisfying phase of an outdoor living build — the moment the vertical structure goes up and homeowners can start to visualize the finished space in three dimensions.
“Pergola post set today — 6 by 6 by 16. We got a seawall stacked down. We got some ledge lights to put in on the top course here and we got a cap, and that will be complete. We’re just waiting on a couple more bags of concrete to put in these post holes.”
6×6 posts at 16 feet are a serious structural choice. These aren’t decorative posts — they’re load-bearing members that will support the full pergola roof structure. Setting them in concrete-filled holes ensures they don’t shift or heave in the coastal soil conditions common throughout Myrtle Beach, North Myrtle Beach, and surrounding communities.
The photos show the posts braced in place while the concrete cures — a step that’s easy to skip but critical to getting the structure plumb and true. Once the concrete sets, the bracing comes off and the base work begins for the paver field.

Why the Build Sequence Matters
One of the things Matt’s walkthrough videos make clear is that these projects aren’t improvised — they follow a deliberate sequence. Demo first, then excavation, then base prep, then structural elements (seat wall, pergola posts), then pavers and finishes.
That sequence exists for good reasons:
Structural Integrity
The base and walls have to be right before surface pavers go down. Skipping steps leads to failures that are expensive to fix later.
Drainage First
Gravel base and grade are established before any decorative elements go in — ensuring water runs away from the house and doesn’t pool under the patio.
Material Coordination
Structural elements like post footings need to cure before surrounding work can proceed — sequencing prevents rework and schedule waste.
Design Continuity
Laying out the patio shape, seat wall curve, and pergola footprint together ensures every element works as a cohesive system rather than a series of disconnected installs.
This is the kind of project management that separates a professional hardscape contractor from a landscaper who also does patios. The difference shows up not just in the finished photos — it shows up five and ten years later when the patio still looks exactly as it did on install day.
Frequently Asked Questions
How long does a full backyard transformation like this typically take?
+
A project of this scope — demo, paver patio, curved seat wall, pergola, and fire pit — typically runs 1–3 weeks depending on site conditions, material delivery schedules, and weather. The concrete footings for pergola posts need curing time before surrounding work can continue, which affects the timeline. During your consultation, we can give you a realistic schedule based on your specific project.
Do you have to remove the old concrete slab before installing a paver patio?
+
In most cases, yes — and for good reason. Installing pavers over an existing concrete slab that’s cracked, heaved, or improperly sloped creates problems down the road. The slab underneath will continue to move and degrade, which eventually affects the paver surface above it. Removing it first allows the crew to properly grade the subbase, address drainage, and create a stable foundation built for pavers specifically.
What’s the benefit of a curved seat wall versus a straight one?
+
Curved seat walls look more natural in wooded and organic settings, complement rounded patio shapes, and tend to feel more inviting — they draw people into the space rather than creating hard corners. They also integrate better with existing landscaping. From a structural standpoint, a properly built curve handles lateral pressure well because the arc distributes load more efficiently than a straight run of the same length.
Why is a gravel base used under pavers instead of just compacted soil?
+
Compacted gravel provides a stable, well-draining base that soil alone cannot. In coastal Carolina, the sandy soil shifts seasonally, and heavy rainfall can saturate the ground and cause pavers to settle or heave. A gravel base — properly compacted in lifts — provides load distribution and drainage that keeps the paver surface stable for years. It’s one of the most important investments in a quality paver installation.
Do you serve homeowners in North Myrtle Beach and surrounding areas?
+
Yes. Precision Hardscape & Construction serves homeowners throughout the coastal Carolinas including Myrtle Beach, North Myrtle Beach, Little River, Longs, Calabash, Sunset Beach, Ocean Isle Beach, and Shallotte. If you’re unsure whether we cover your area, give us a call at (843) 222-5377 and we’ll be happy to discuss your project.
Ready to Transform Your Backyard?
Whether you’re starting from scratch or replacing a tired old concrete slab, the team at Precision Hardscape & Construction LLC knows what it takes to build an outdoor space that holds up — and looks great for years to come.
Custom paver patios • Pergolas • Seat walls • Fire pits • Full backyard transformations
precisionhardscapeconstruction.com
Serving Myrtle Beach • North Myrtle Beach • Little River • Longs • Calabash • Sunset Beach • Ocean Isle Beach • Shallotte